Closing up the desktop project

Case closed. Desktop too.

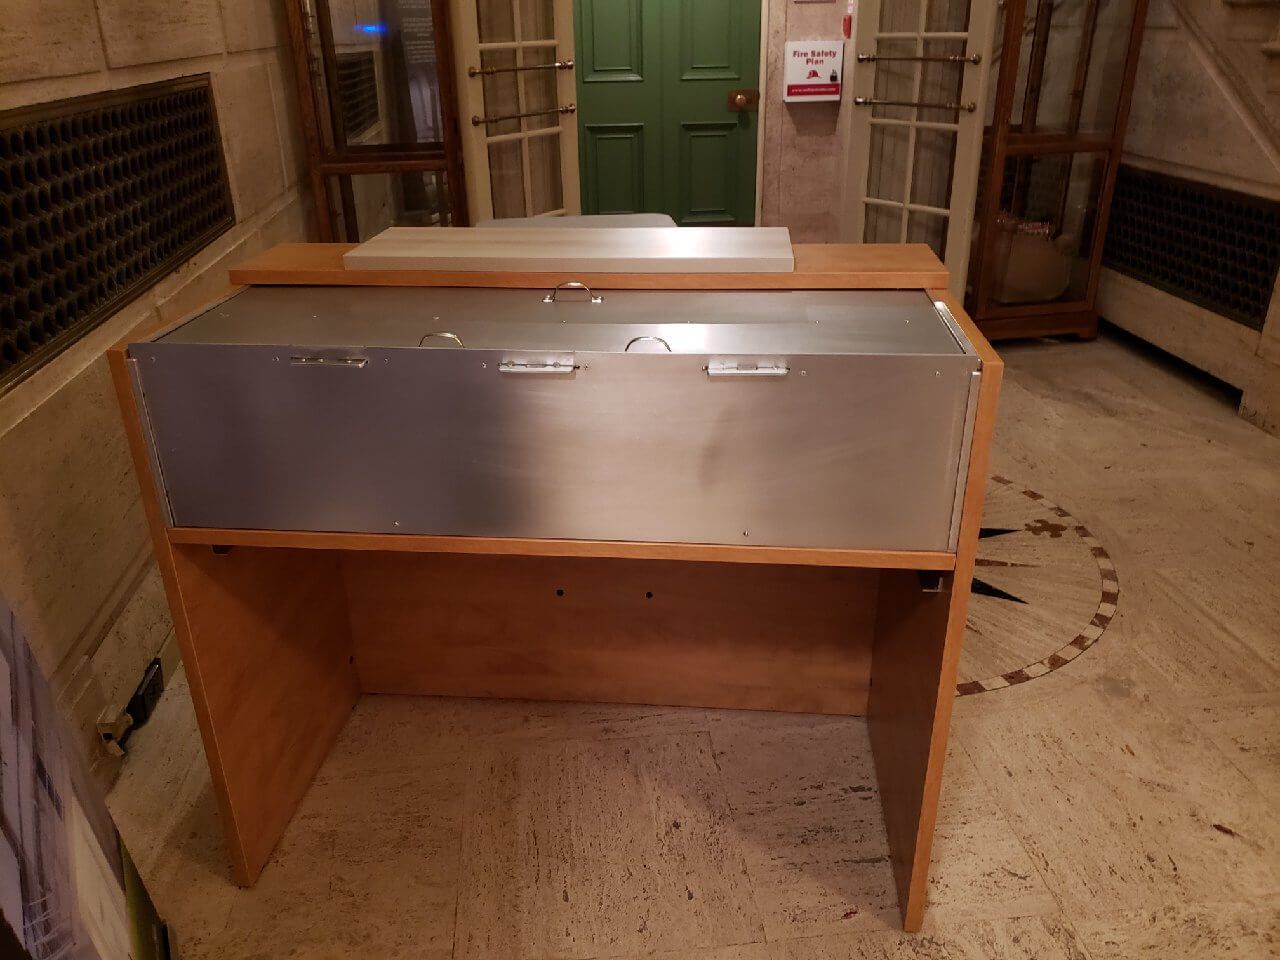
We posted earlier about our project to make a lockable enclosure for the reception desk of our home, the David Dunlap Observatory. We left that post with a pretty crappy picture. Protective plastic was still covering it. 

Test usage showed an area for improvement. Sliding everything into place would work better with some handles.

Two at the front to guide into the locking tabs so we don’t hurt our dainty little fingers. Another one at the back to help slide it into the support brackets hidden under the top panel. All held in place with some strong rivets to prevent tampering.

A couple of coats rattle-can clear enamel and it’s ready to go. 

Here’s the overhead view from our amazing drone-cam.

Well, not really. We don’t have a drone. We just went up the stairs. But they’re really cool stairs. 


More tool repair

Nose to the grindstone

Last week we posted about our evening repairing crappy Crappy Tire tools. One tool  could not be fixed. Here once again is our picture of a pair of side-cutters that broke simply doing what side-cutters are supposed to do.

Reminds us of the old mechanic’s joke about there being two types of tools – Snap-On and snap-off.

Can’t fix… or so we thought.

Our metal master Miro wasn’t there that evening. He read the post and sent in a message: “We can fix that!”

How? Welding?

Nah.  It’s said that sculpting is easy – start with a piece of stone or clay, and take away everything that doesn’t look like your subject.

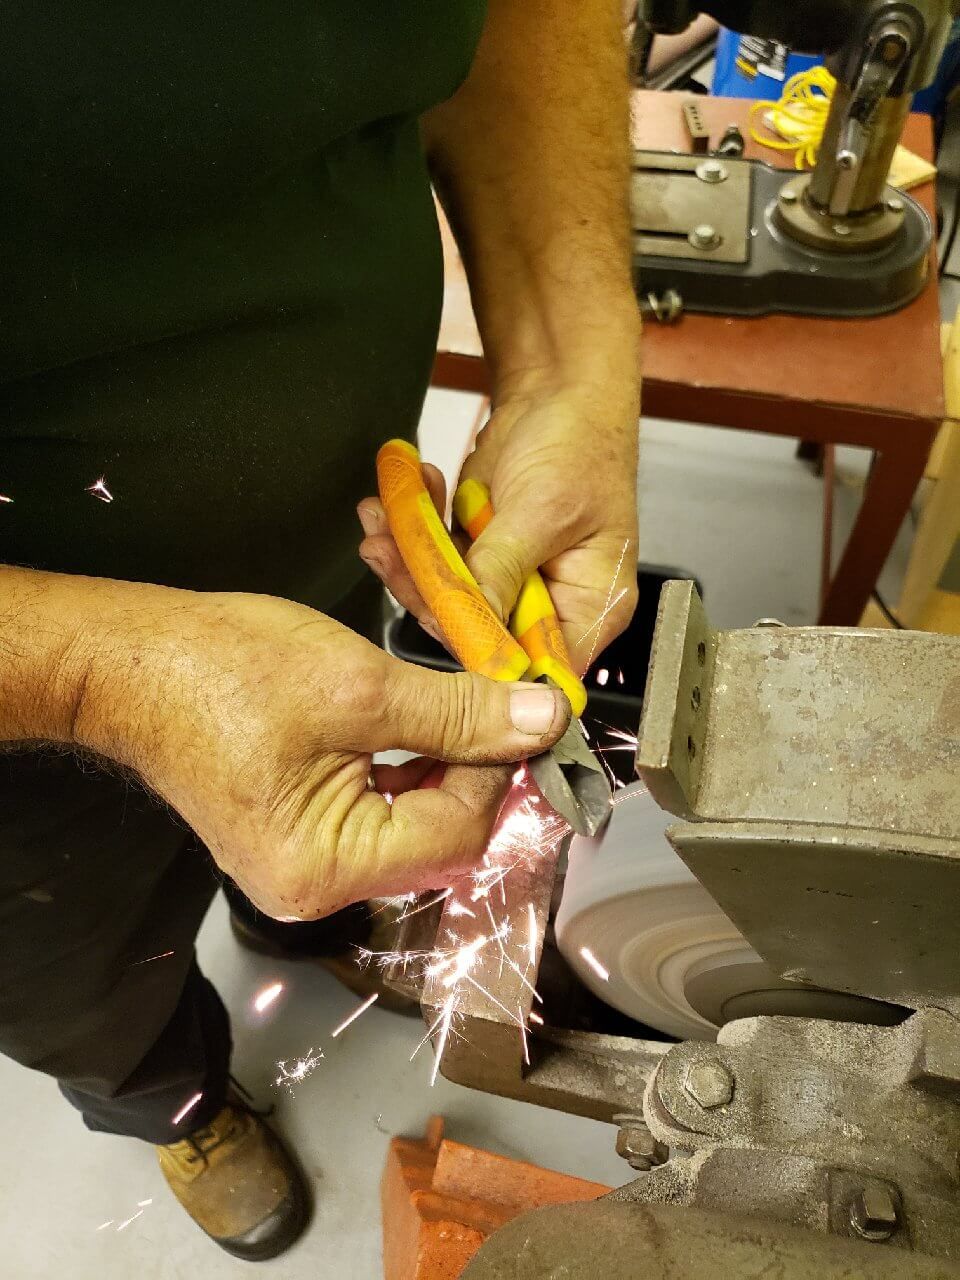
In this case, Miro ground it away.

And kept grinding.


Until it looked like this.

Compare that to the picture at the top!

The side cutters are now a little stubbier, but fully functional. They seem to cut better than before. Yes, it’s the same side cutters. The Mastercraft logo appears to have left out of embarrassment.

We also brought in some old drill bits that we soaked in rust remover. That stuff works wonders. But how well will the bits work? Has the edge been deteriorated by the rust?

Ylab member Gilles brought us a pretty amazing drill bit sharpener from the golden age of Black and Decker. Search all you want at any of the local hardware stores and you won’t find anything like this rig.

You pop the bit into the holder, and it holds it at the perfect angle for sharpening. The chuck has a nice indexing feature to rotate the bit exactly 180 degrees to sharpen both of the cutting edges. Nice depth control too so that the two cutting edges will be at exactly the same depth.

It only took a few seconds and the bit came out like new.

We sharpened up a few. Well, at least three. Because this is no two-bit operation.

Ylab Final Fall Update: New materials. New possibilities.

Persistence pays off.

For our last bit of catching up on what’s been happening over the last few months, we get to show off some of the new materials ylab members have introduced to our maker space at the David Dunlap Observatory.

The laser cutter is always the touchiest thing. Before any new material goes on there, we look into the safety issues. The C in PVC stands for chloride. Not good. Similar issue with those nice chemicals in outdoor-grade plywood. Some of us recall – and frankly, wish to forget – that leather was deemed safe. Until we tried it. It smelled like a burning cow. Not the good BBQ kind.

But our members, if nothing else, are persistent. Member Dan of (a.k.a. Chewbacca) brought in some sheepskin that looked different enough to try. Great results for both cutting and engraving without affecting the local air quality index.

Sheepskin pattern all laid out after cutting. Way faster than punching in all those little holes/

Engraving works!

Ylab members Bryan and Craig have been exercising our Qidi 3D printer. It’s been stable through – the record so far – a 25 hour print job. But the result has always been that hard plastic stuff – ABS or PLA.

Bryan wanted something a little more flexible, and looked into thermoplastic polyurethane (TPU). It’s a nice flexible material – kind of like silicone. Safety checks out. Temperature parameters check out – compatible with our 3D printer. 

First test: big fail. We think the material, in its spool form, was not rigid enough to be pulled through by the 3D printer’s printhead feeder gear. It melted but was not driven through.

But sheer bloody-mindedness diligence and persistence paid off. Bryan kept researching the issue, and found that, like other 3D printer materials, printing the right source and supplier makes a difference.

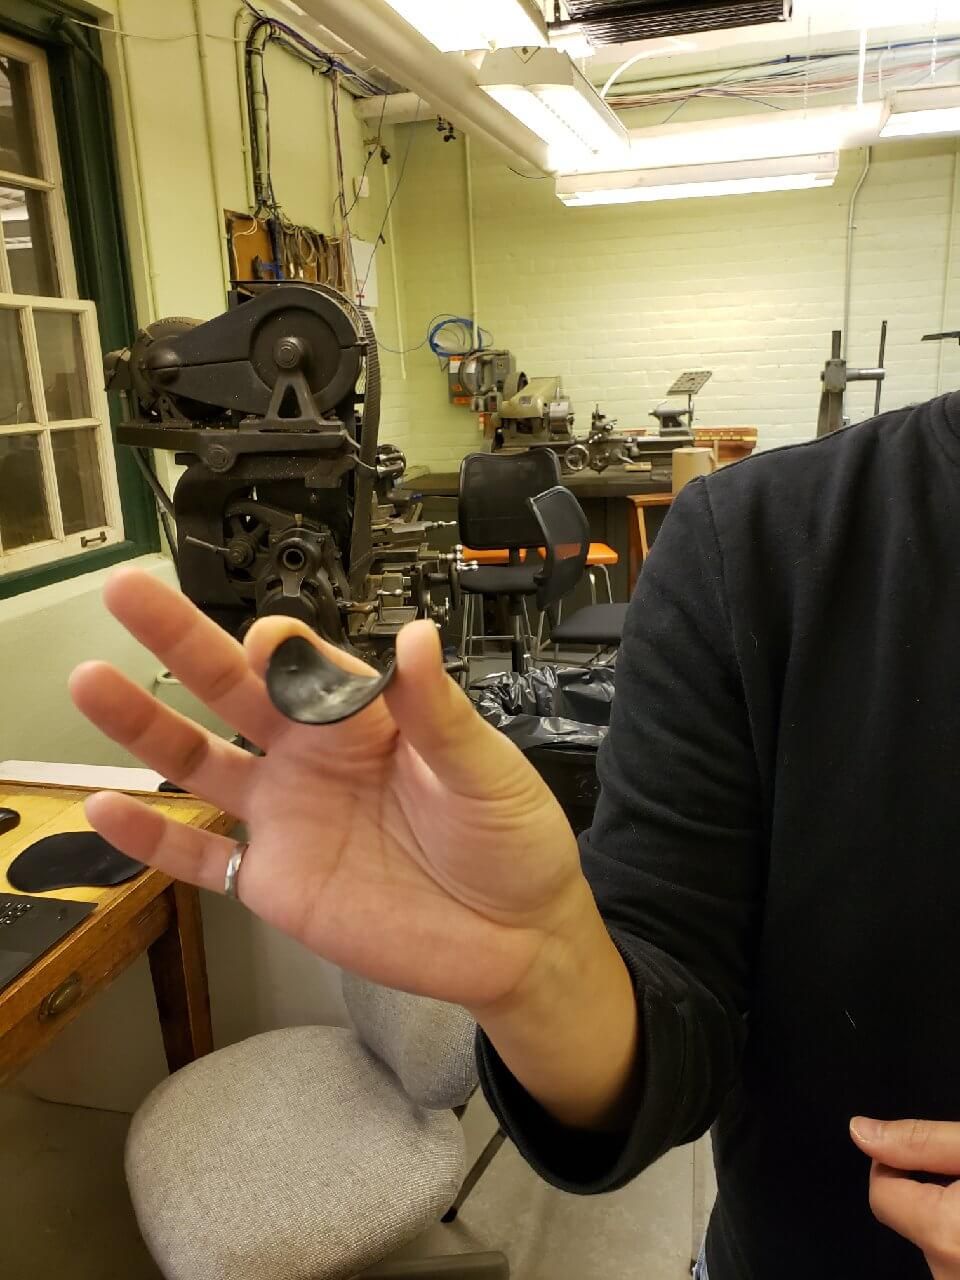
After a few tries, here’s the result – a nice, flexible disk. 

Will it bend?

Yes it will!

Bryan says his next attempt will be using the dual-extruder feature for a combined print of rigid and flexible materials.

Our final material is simple foam. Even if it’s safe, it can get all melty in the laser cutter. Melty good for 3D printer. Bad for laser cutter.

Ylab member Richard his own solution – a hot-wire foam cutter. Just hook up to DC power supply (we have that!) and it’s good to go.

Looks like a really skinny bandsaw.

Fast, no mess and a perfect curve.

We’ll be setting up classes and seminars for these new materials and featuring them at our open houses. Stay tuned.

Fix-It Night for Crappy Tire Stuff

We have a bunch tools at ylab, and some of them from Crappy Tire. We can call them that – after all, Canadian Tire fought for the use of that name. You would normally think we would be using their tools to fix other things. Nope. We had to fix the tools.

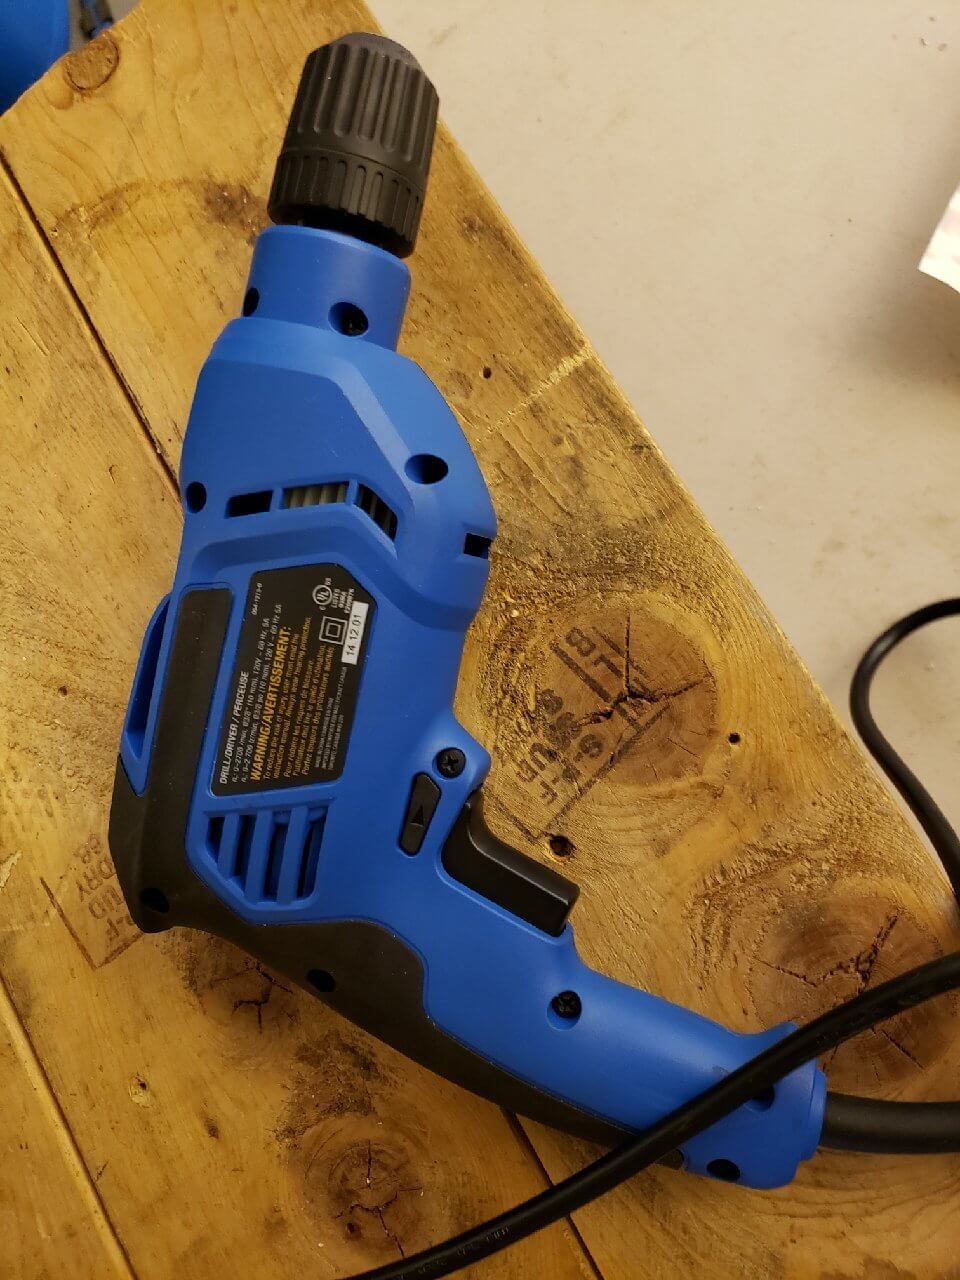
This  Mastercraft drill is about 4 years old, the first 3 1/2 years being unused in a unopened box. Still new, but out of warranty. We used it about 4 times… and it died. No grinding noises. No sparks. Just… stopped.


Opened it up, did a big of poking, and the problem was obvious. That white wire at the bottom coming out of the power cord. It goes into the power trigger. Just touched it, and it came right out. On the other side of that trigger control is a screw that had to be tightened to hold it in place. It was never tightened.


This is the model number, in case you want to not make the mistake of buying this drill. But it is working fine now that we’ve fixed it.

Then we come to our Crappy Tire pliers set. Probably about 3 years old, but still relatively lightly used.

Those insulating handle grips should not be sliding off like that. One of our members has a lightly used set at home that’s doing the same thing, so it’s not just us. We’re testing some decent quality spray adhesive to see if that will hold it in place.

Then there’s the side cutters. Let’s zoom in a little closer


When you’re snipping a wire, it’s the end of the wire that’s supposed to snip off, not the end of the side cutter.

Unfortunately, we don’t have a way of fixing that. Well, some of our members do… but it would not be worth the time and effort.

Come on, Crappy Tire. You should be doing better than that.


Ylab Fall Kick Off: Celebrating the 150th Anniversary of the Periodic Table of the Elements.

Your high-school periodic table was never this cool.

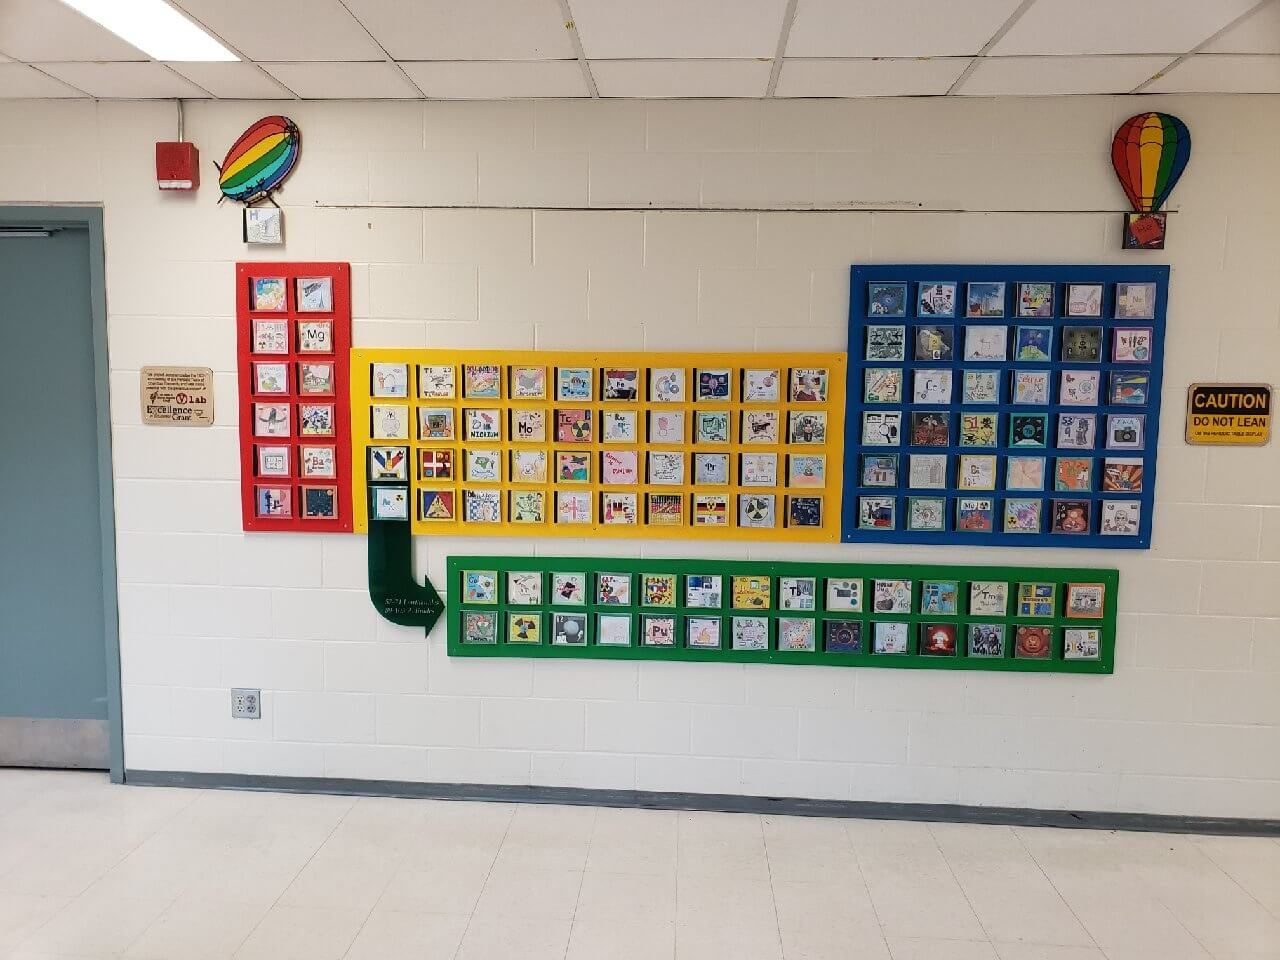
UNESCO has declared 2019 to the International Year of the Periodic Table to celebrate the 150th anniversary of the Mendeleev periodic table. You know, that thing you studied in high-school chemistry.

Ylab member and high-school chemistry teacher Karen could not let that go unnoticed. Working with her students at  o they built their own giant periodic table.

The periodic table is proudly displayed at the school and looks fantastic.

Students made illustrations for each element and mounted them in CD jewel cases.

Karen made use of ylab’s laser cutter to add some framing, labels and other great touches.

Congratulations to Karen and all her students for this great effort!


Ylab Fall Kick Off update: New gear for more metalwork

A few of our posts involve some metalwork. That would not be possible without some serious hardware

Thanks to some donations and astute purchases we’ve picked up a couple of things over the summer.

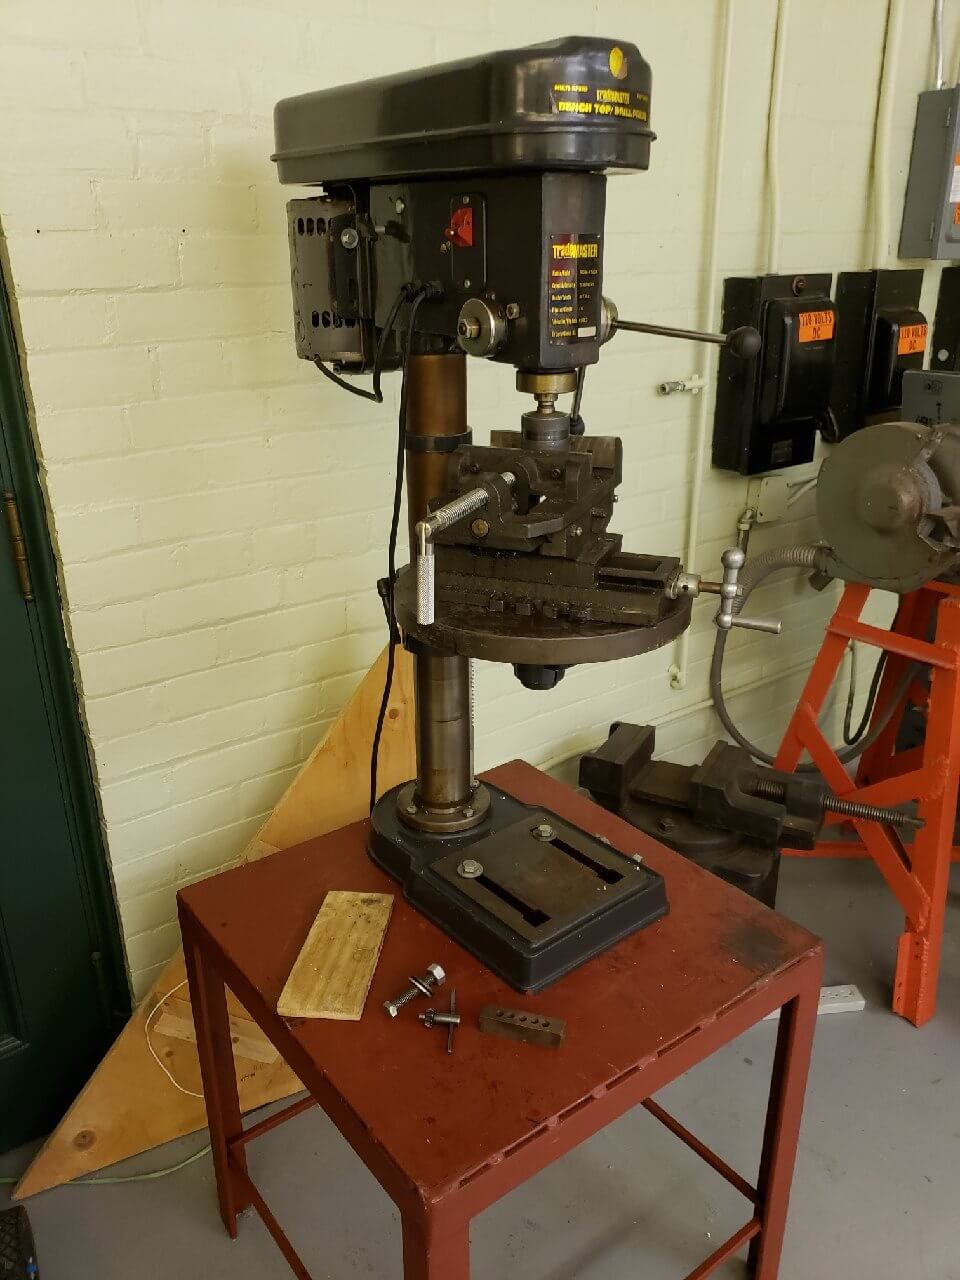
We now have our own drill press. Bigger and better than the loaner unit we had sitting on the workbench. Just in time, too, since the loaner unit had to be returned. It comes has a killer vise and it’s own solid steel stand. Really solid. Profanity-to-get-it-carried-in solid.


Then there’s the horizontal metal bandsaw. A nifty piece of gear that uses gravity to keep the blade on the material.

Yeah, it’s kind of hard to understand what it does by just looking at it in the picture.

We’ve also picked up some minor things – like a pop riveter. We mention it because of this post where we did terrible things to a microwave. There was some nice shiny metal left over from the enclosure, so we used the riveter and some of the other new gear to make a tray for the riveter.

Spot the fabrication mistakes.

We’ll be kicking off some fall sessions to show everyone how to use this and other gear for your own cool projects.

We have more stuff. Check out posts like this one to see what else we’ve been up to with the metal stuff.


You’re doing *what* with a microwave???

Don’t be a hero.

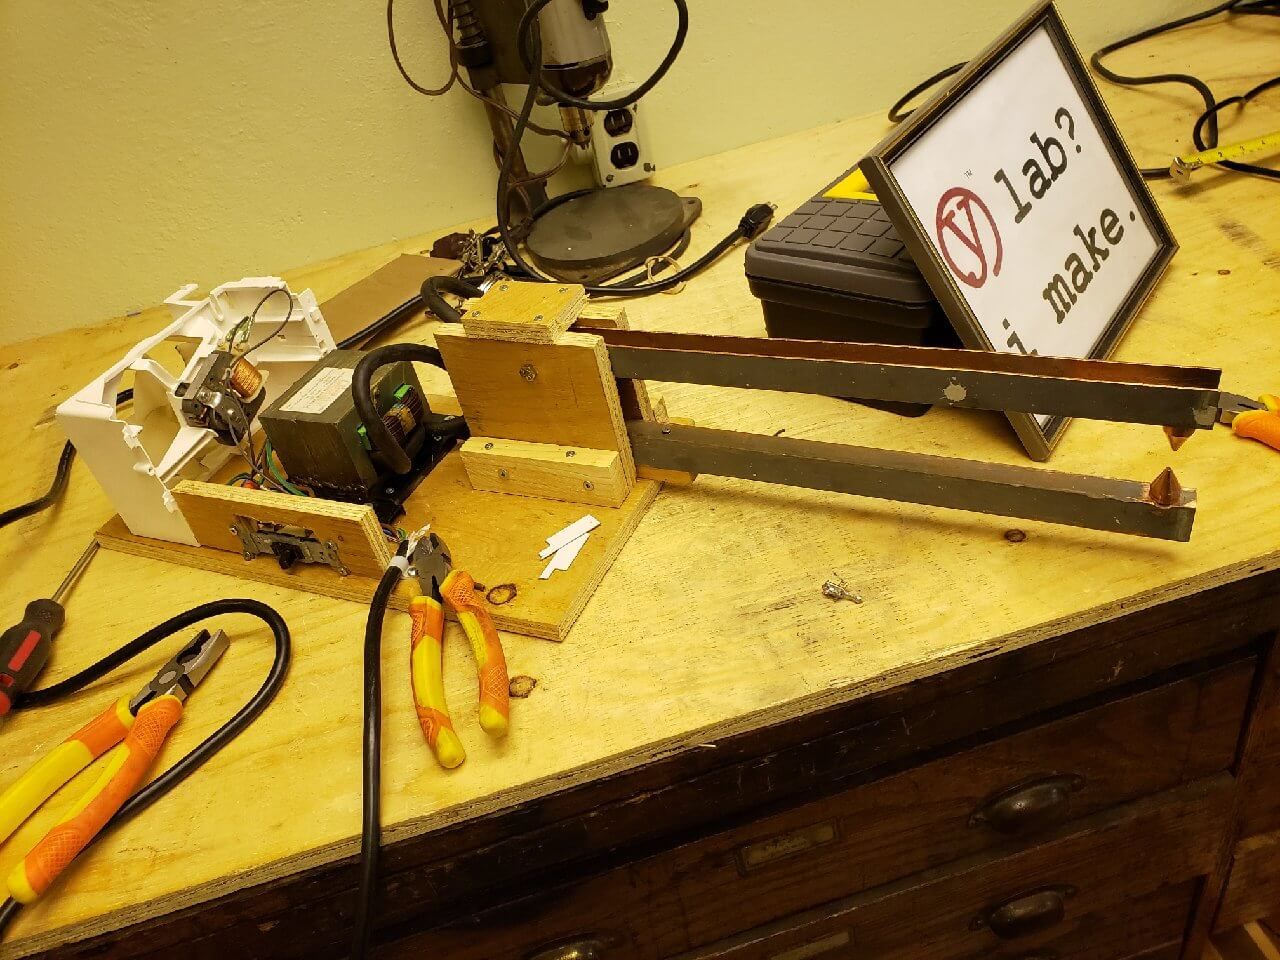
Many pages on the Internet tell you how to make a spot welder from a discarded microwave oven. We always thought it was a crazy idea. And then a couple of the more experienced ylab members told us it made sense and would not result in electrocution or being nuked into a medium-rare meat sack.

That explains some of the microwave parts that were lying around our workshop.

Like any good project and action hero movie, there has to be a critical failure and despair moment. Ours happened during disassembly.  Newer microwaves don’t have the kind of transformer you need for the project.

This isn’t what microwave transformers look like on all those other web pages.


Yeah, manufacturers cheap-out nowadays. You gotta do something to get that price down to $79.

Fortunately, some of the ylab packrats better-equipped members have accumulated some gear over the years and may be under pressure to clean out basement/storage shed/living room/all of the above. A nice one was donated to the cause, along with some awesome copper channels for the spot-welder arms.

This is what a *real* transformer looks like.


Channeling our excess energy with copper.


We won’t get into the detail of how the transformer was modded because (a) other websites have that info and (b) please don’t sue us. That big black cable may have been added as part of the process.

Since spot welder transformers allegedly produce some heat, we decided to make use of the microwave fan.

And that nice, shiny stainless steel enclosure… can’t let that go to waste. A bit of sawing, bending and shearing later, we have a pretty good cover.

Microwave enclosure – before surgery.


An old light switch a PC power cable, some drilling and tapping or the copper channels, and the project is moving ahead nicely.

Action hero movies always have moments of suspense. So we’ll leave you in suspense and post later on how this wraps up. Because we haven’t wrapped it up yet.

Because action hero movies have sequels.

Fall kick-off ylab news backlog: Desktop Metalwork

Ylab’s metal master

Ylab’s hosts at the David Dunlap Observatory have a nice simple reception desk – but they want the ability to lock  up whatever is on top. You know, big things than won’t fit in a drawer. Which is kind of impractical because there are  no drawers on the desk.  They asked us if we could do something about it. We like a challenge. We put ylab member Metal Master Miro to work on it.

Aluminum panels can cover the opening, but they need support. The requirement is to make them removable and have them discretely stored.

We started with some solid 1/4” square aluminum bars. We milled a channel on the aluminum to hold the panels, and drilled and countersunk holes for the mounting screws.

Aluminum bars, before and after milling and drilling
Nicely mounted on the desk to hold the panels.

Then we worked the panels. Aluminum sheets in the thickness we use is not quite rigid enough for the span, so we made reinforcement bars and riveted them to the sheets.

Miro knows the drill.
A riveting process, followed by shot peening the rivets.

For all the pieces, a copious amount of filing and elbow grease was required to soften up rough edges.

Not the filing cabinet you expected.


We made and mounted supports for discretely storing the panels when not in use.

No visible means of support. At least not when looking from the top.

And finally, it all goes together in four simple steps.

Slide in the top…
… snug it up into the hidden support brackets…
… slide down the front panel…
… and tuck in the locking tabs.
Case closed.

Just add padlock. We’ll take off the protective plastic layer and clear coat it after it’s been inspected.

And with all the milling,  drilling and filing, we got our money’s worth out of this guy.

My job sucks.

Fall Kick-Off Ylab News Backlog : 3D Printing

It’s alive! And reliable!

Last week, we provided updates 1, 2 and 3 on the City of Richmond Hill’s DDO activities over the spring and summer. Ylab helped out with all of them, but those were not our core maker activities.

Our makers quietly been up to all kinds of things in our basement lair. We’re now taking the time to catch up and update everyone on some of the more interesting projects.

Reliable 3D Printing. Finally.

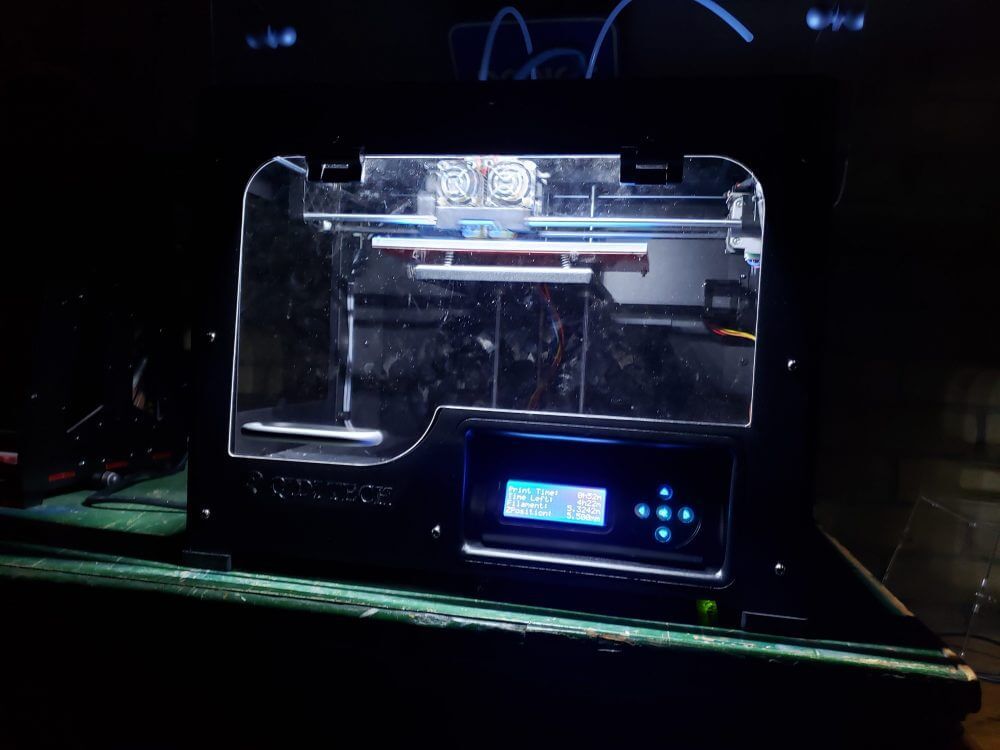
We got our hands on a Qidi 3D printer earlier in the year. It’s a very flexible unit, with dual extruders capable of handling PLA, ABS and the related support filaments. But it was kind under-used as we worked out how to operate it reliably with PLA and ABS filaments, and with separate support material for the complex jobs.

After much trial and error, software tests, and burning through plastic like a trophy wife on shopping day (ed: we can’t take credit for that cheap line), we were confident enough to hold our first 3D printer certification class and let people at it.

The verdict: it’s a quality, super-reliable printer.

Our first real user was making some robotics parts out of ABS. Test passed, but it was a relatively short print job.

Another member is doing some consumer product re-design (we can’t talk about it), and ran a complex job with lots of support. 4 hour print time. It came out flawless.

The ylab member Craig of Halloween Electric Chair frame gave it a real challenge for his next project. 14-hour overnight job.

The start of a long night of overtime work.

No problems. No jams. All good.

It’s a big step up in quality and reliability from the earlier units our members generously loaned us to get started.

Stay tuned for our next certification class, or just come in and we’ll give you a hand to get your project done.

DDO News Backlog Part 3: Movie Night. Just Add Characters.

How did he get hold of that?

Sometimes, ylab is just plain silly fun.

On Friday August 23 the City of Richmond Hill and Deputy Mayor Joe DiPaola hosted their First Annual – Explore the DDO outdoor movie night. City staff invited DDO partners and other groups to participate. Ylab was asked to join the fun because of some shiny light things we’ve been known to make in our DDO workshop.

Some ylab members and friends are big Star Wars fans. They happily volunteered to add some character – and characters – to the event.

This was early. Before the crowds and the line-ups for pictures.

The costume efforts ranged from a quick trip to the local thrift store to years of detailed work.

Parks and Recreation staff came out to give tours of the Administration Building, and the RASC Toronto Centre crew gave tours of the telescope dome. Oh, yeah, and there was a movie – so much fun stuff going on that it almost became secondary to a great summer evening at the DDO site.

Chris from RASC Toronto Center. He’s the one with the hat.

Big thank you to the City’s Explore the DDO, Parks and Recreation and volunteer teams for all their great work; to RASC Toronto Center for their tours of the dome, to all the other participating groups, and finally to ylab members Dan and Pek and friends Kristen and Mark for showing up in costume. Extra kudos to Dan for loaning out extra costumes and making it up and down the telescope stairs in wookie stilts.