
When a workmate goes heavy metal
For a bit of outdoor practice welding, I made a wooden mount to securely hold a vise to an old workmate.
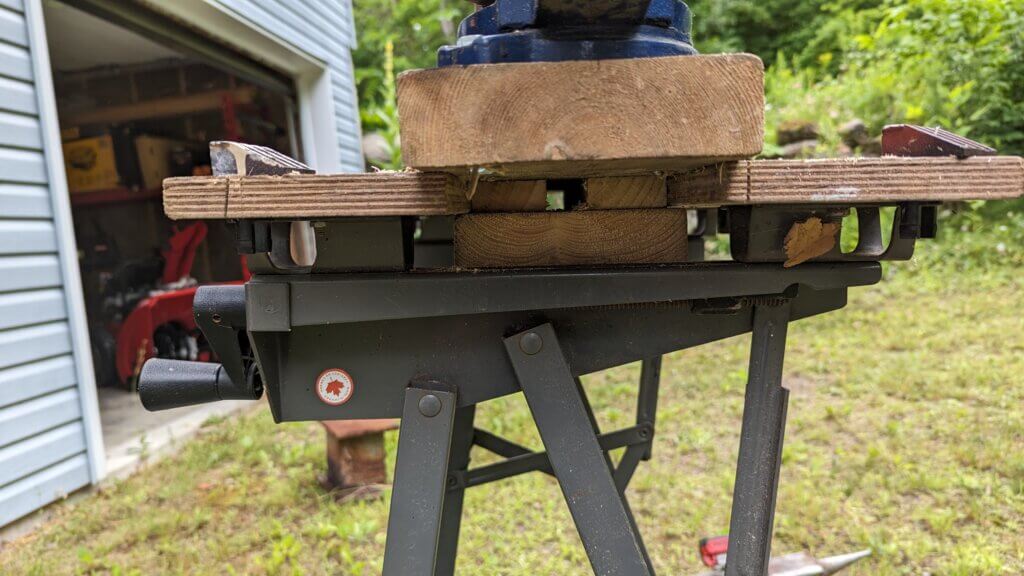
First step: gather up some scrap lumber to make a nice base that the top surface of the workmate can really grip into. No movement up or down.
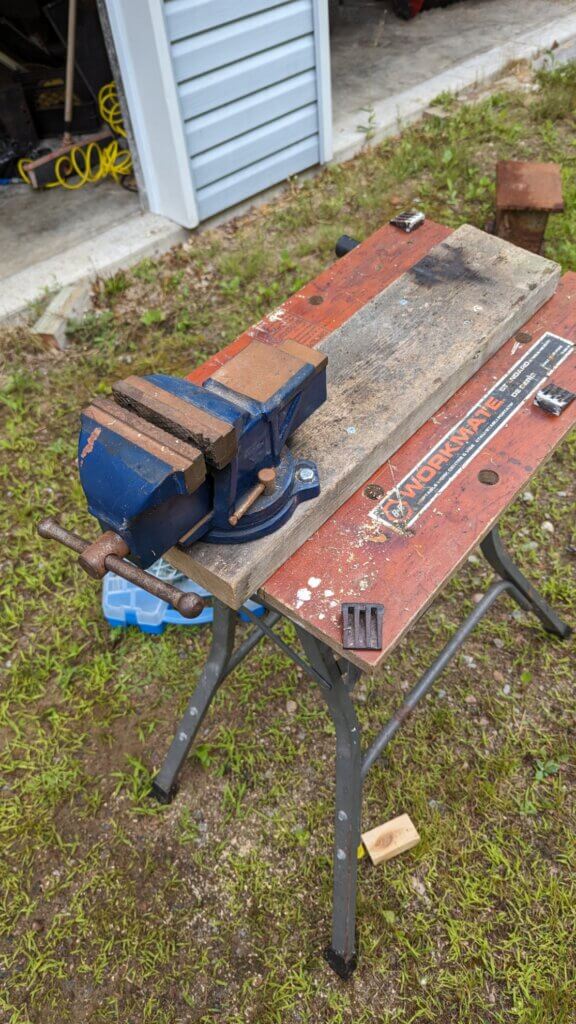
It’s ugly but it’s solid. Yes, those old workmates were still made in Canada.
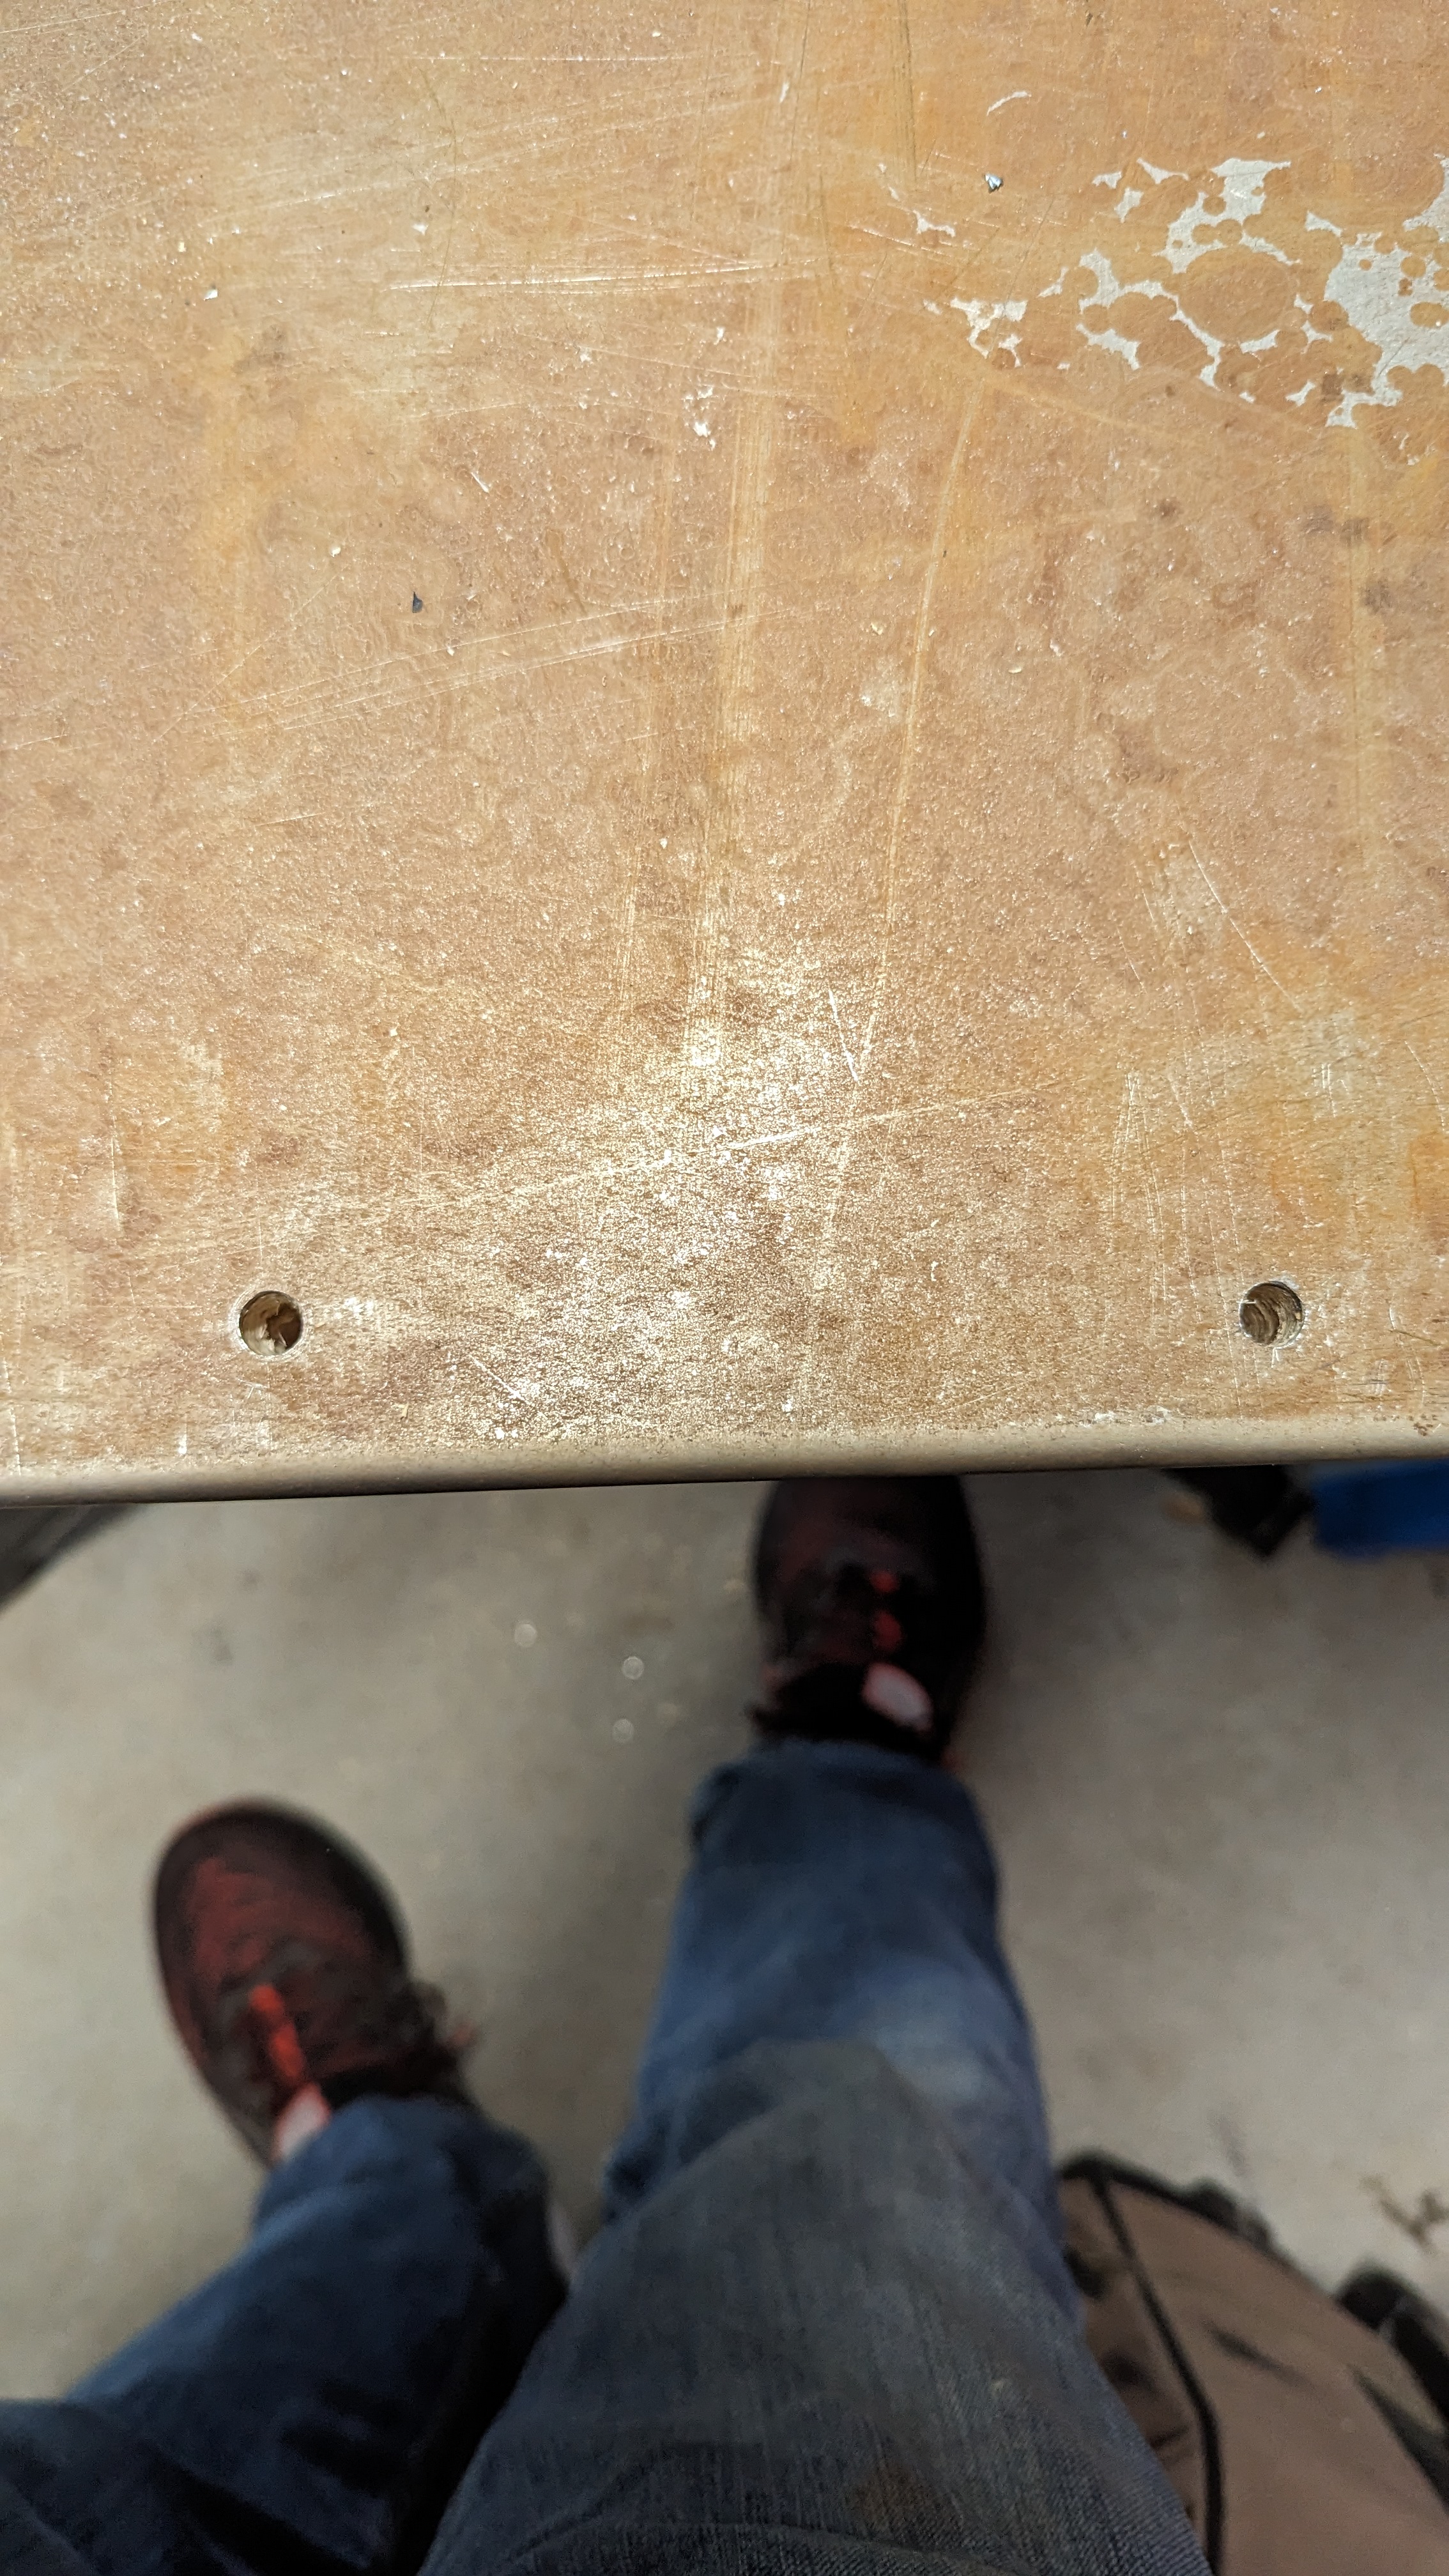
The problem: after a bit of sparking and arc-ing and metal melting, there are some nice scorch marks on the mount. Not good. I’d like that old workmate to last.
Fortunately, there are some other scraps around. Metal and wood.
First step: cut out a thick piece of board to make it a nice rigid surface. Build up the underside the same way as the vise mount in the pictures above so that it has a nice, strong hold from the workmate.
Pro tips:
- Open the workmate as wide as it will go
- The bottom support board that will go under the workmate top should be just a bit narrower than the widest opening at the top of the workmate. That way it can slide through
- The middle pieces should be about 1″ inside that board (see first picture of the vise mount above).
- So the top surface board in the picture above will be about the width of the workmate surface once it’s closed up to grip the mounting pieces underneath. That will be about 2″ less than the width of the workmate when completely open.
Next: some scrap sheet metal. What I had on hand is a little too thick for the metal shear in our home at the DDO. Break out the reciprocating saw with a metal blade. Cut to the size or the surface board plus 2 inches on each side.
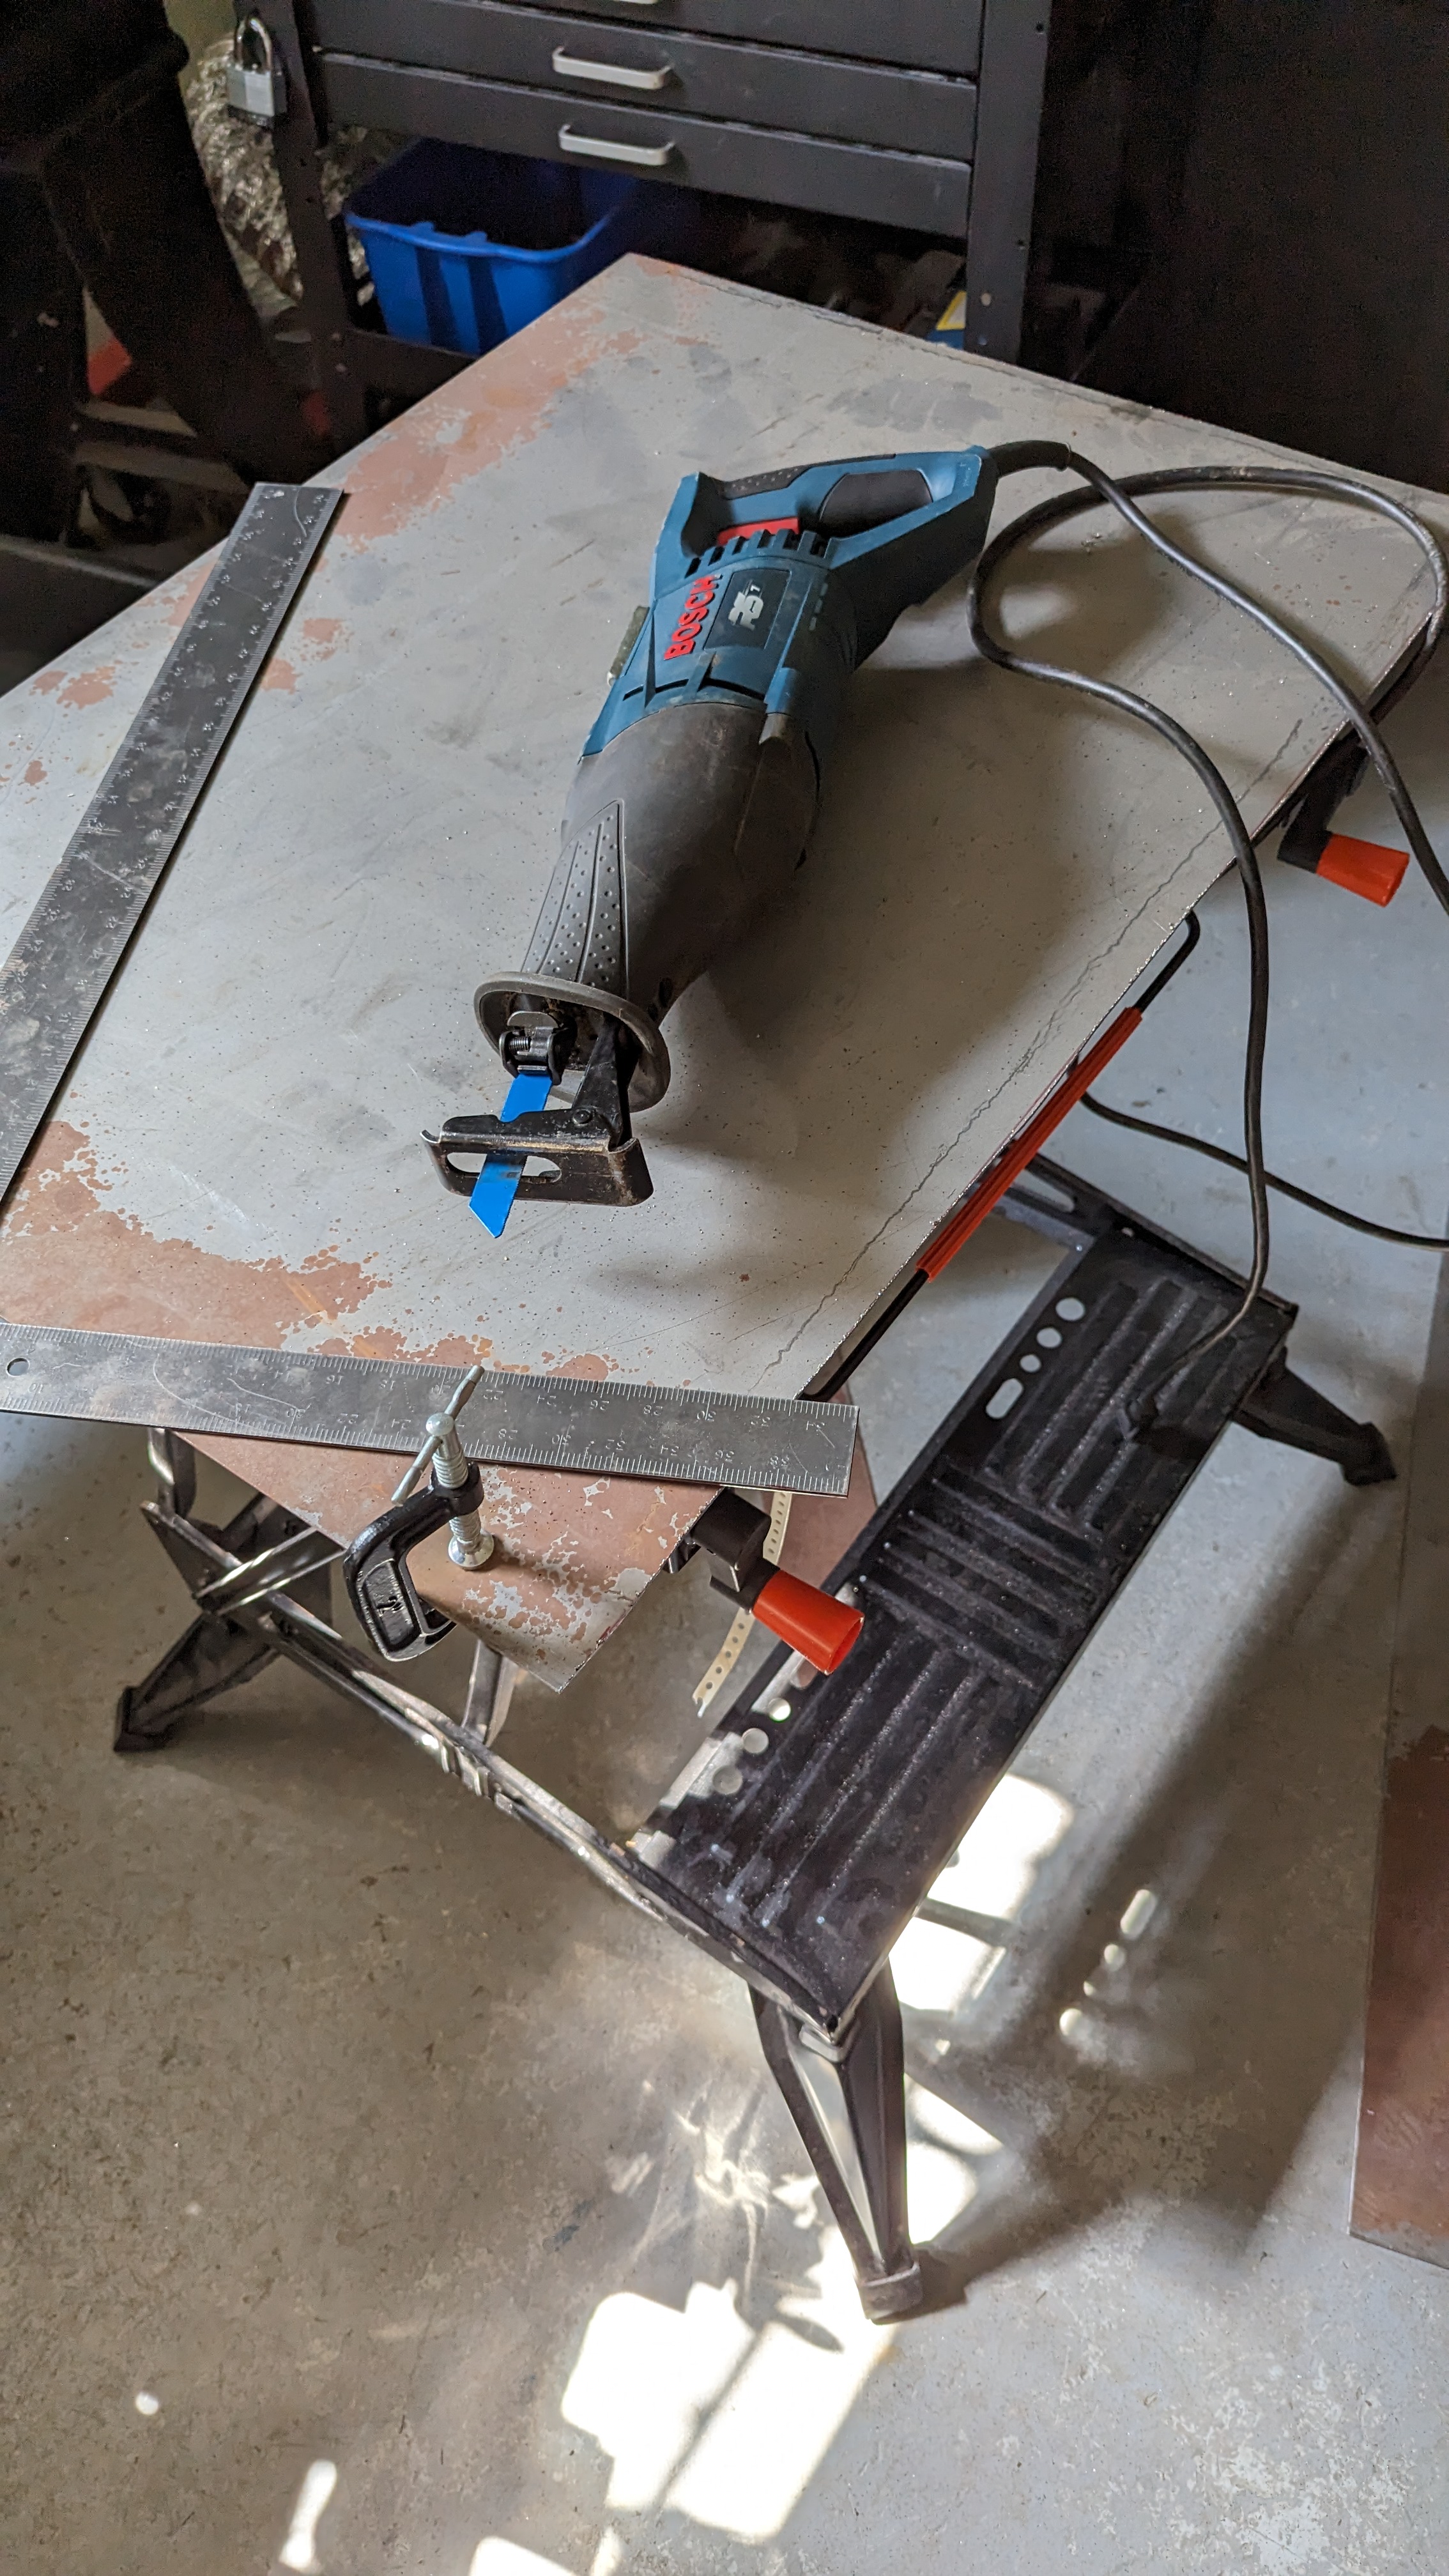
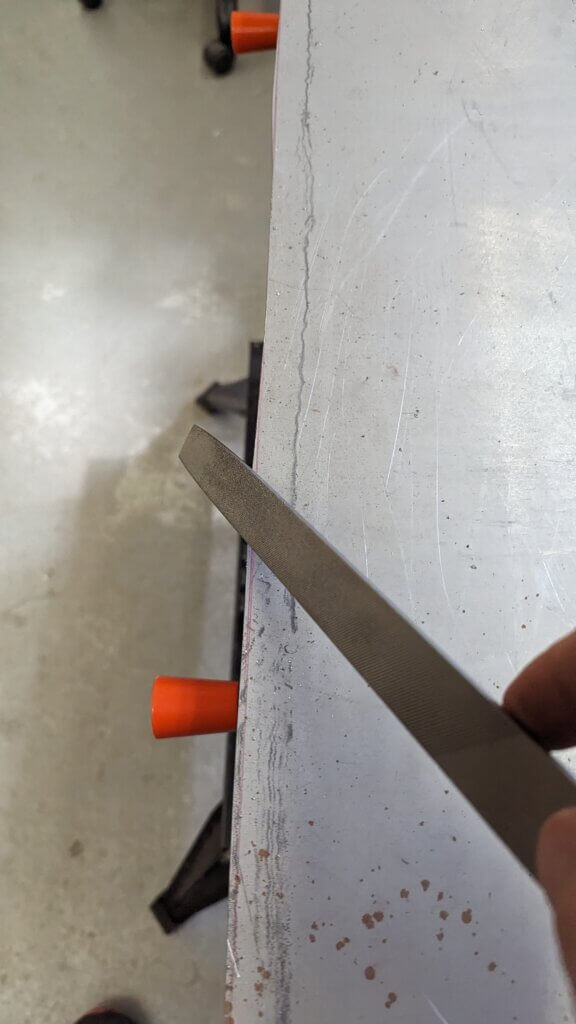
That saw leaves some rough edges. File’em down.
Next, take it to the metal brake to bend the edges. 1 inch on each side. Did I mention we have an awesome metal brake at the DDO?

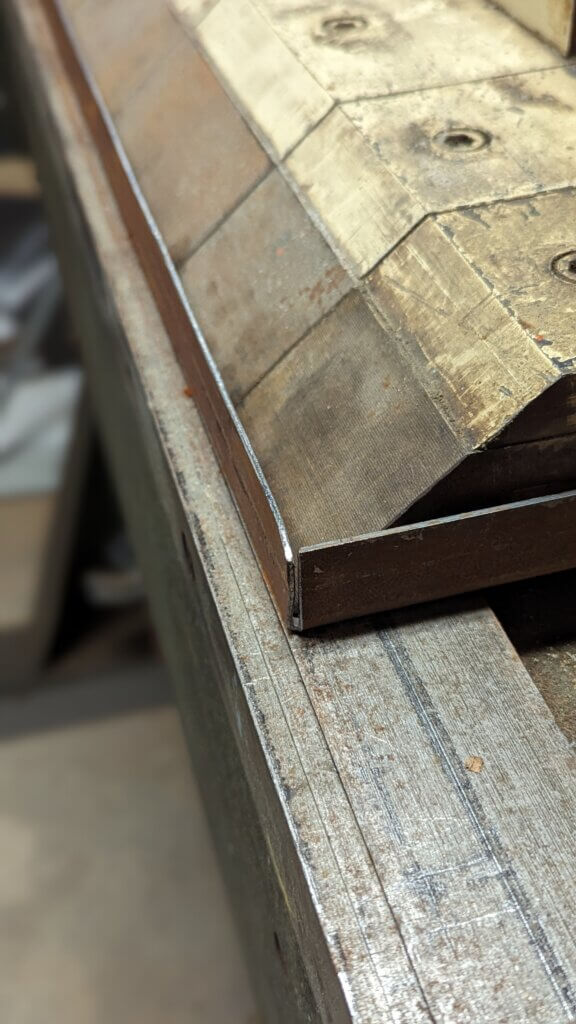
Perfect! A nice top that covers the edges.
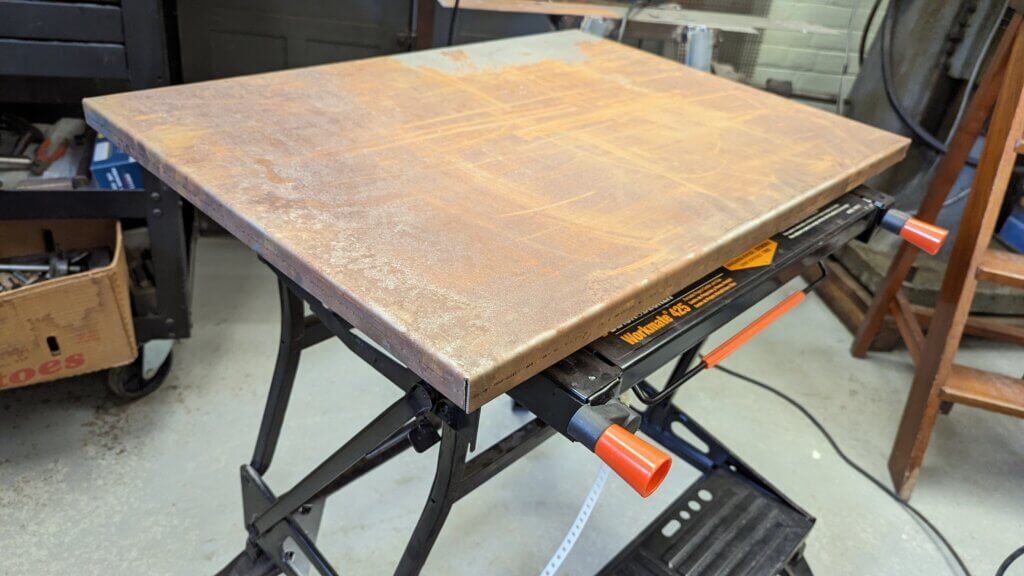
Drill a few holes for mounting things.
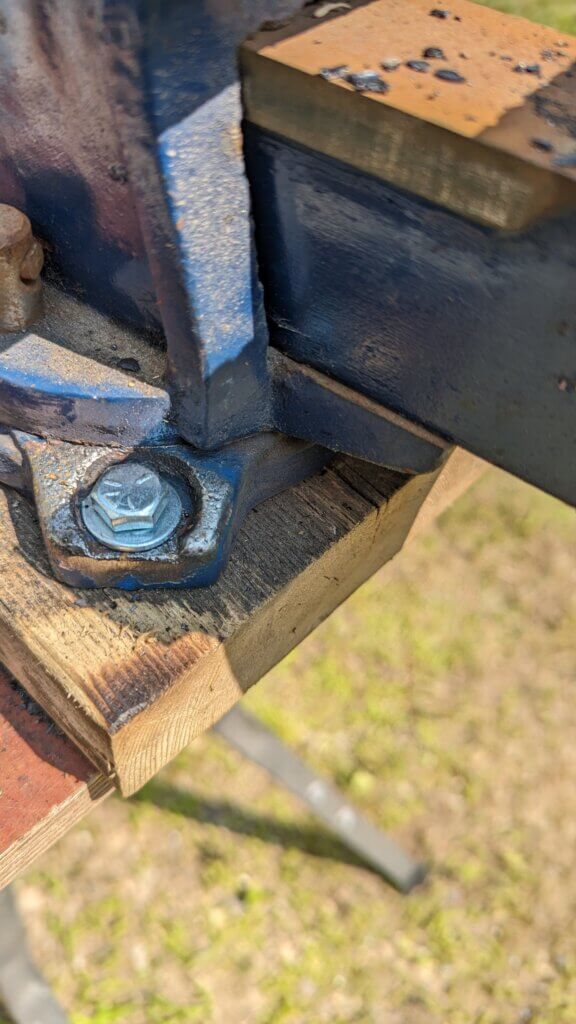
Yeah, yeah, I know. The vise is mounted a little inboard. Did that on purpose for more stability. The workmate is not the most stable thing in the world. I can add another set of mounting holes later.
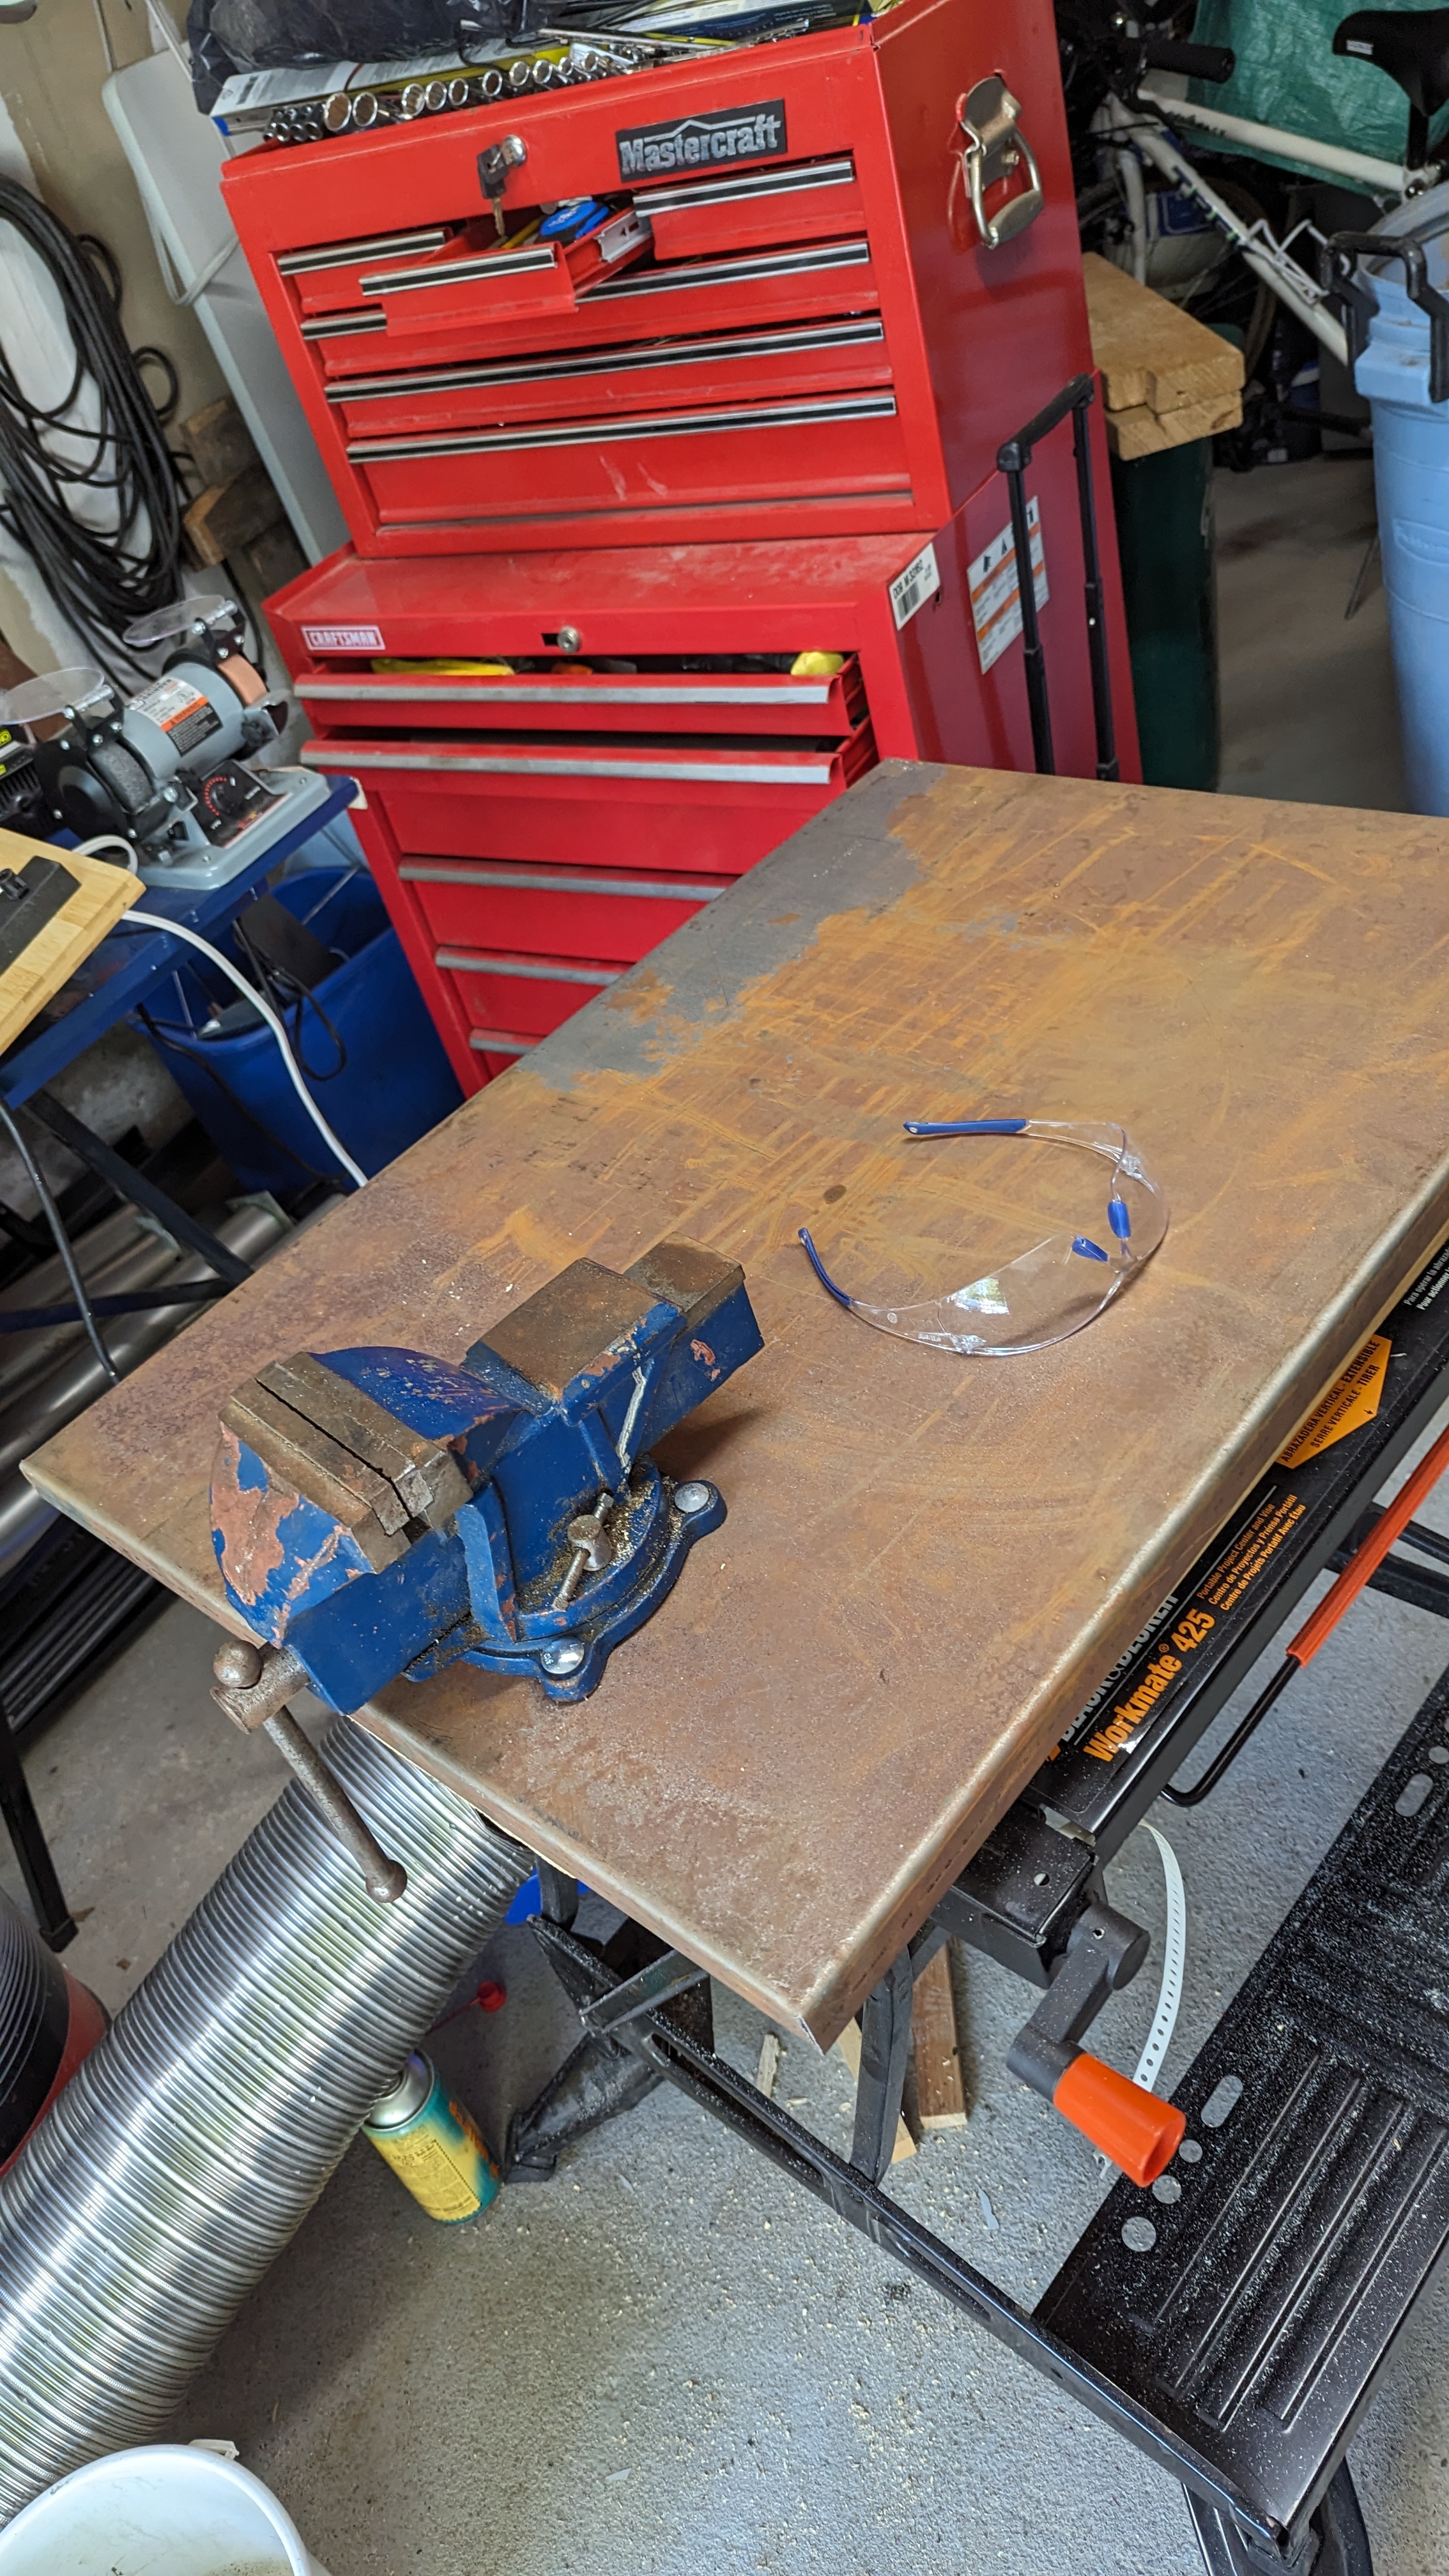
That worked nicely. So why not take it a step further for even more versatility??

There you have it – the Metalwork-mate.
Now I can get back to more welding practice. I need it, as evidenced by the hardy hole I welded to the end of the anvil.
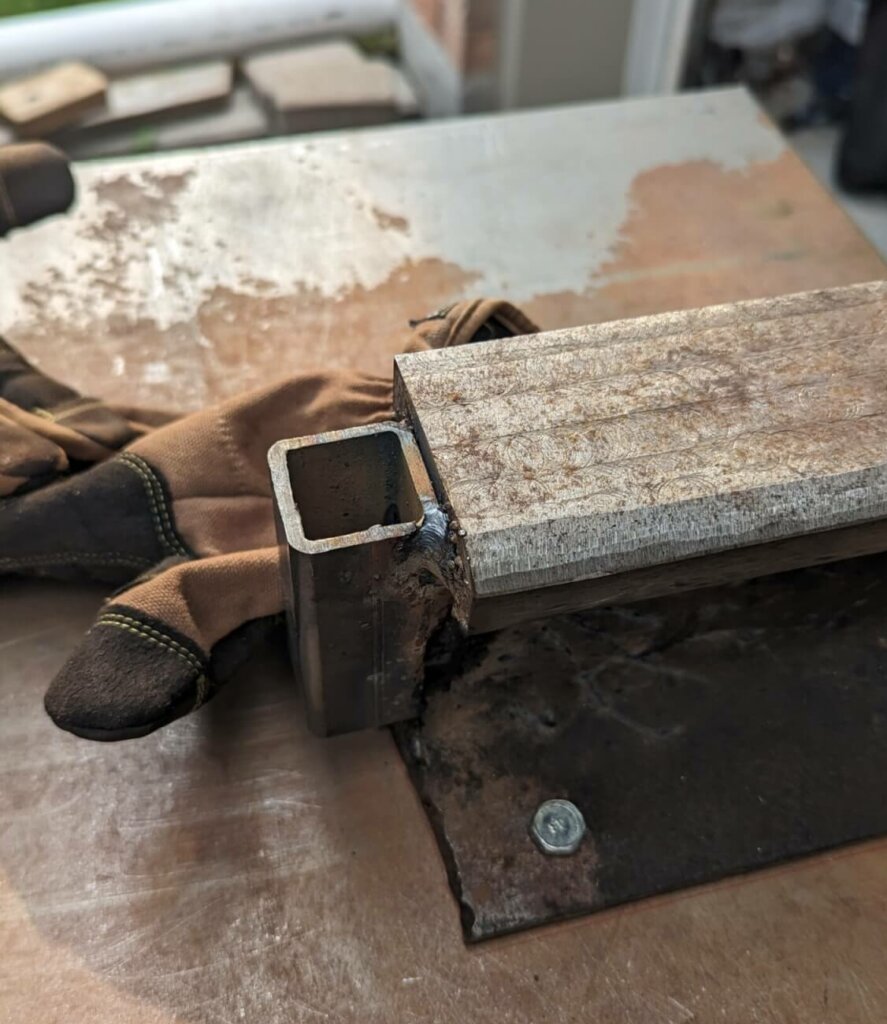
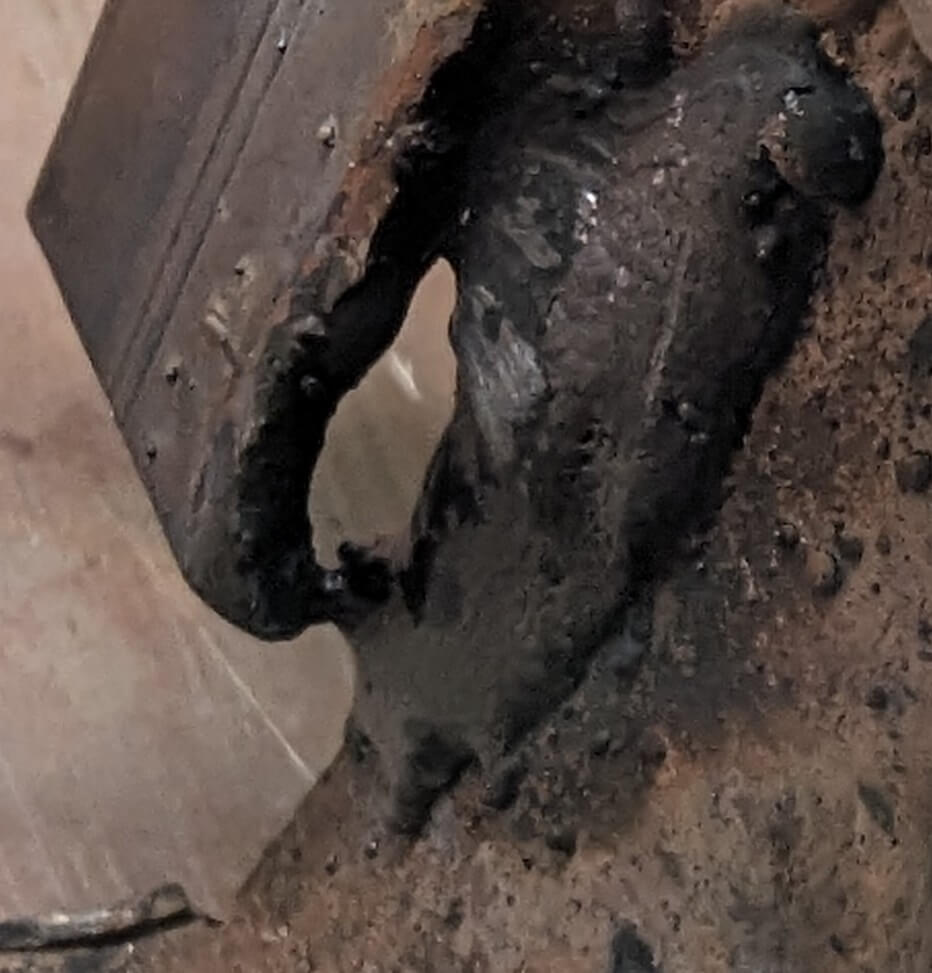
Closer inspection of the weld on one side of the base indicates a little too much power applied. The hardy-hole hole.
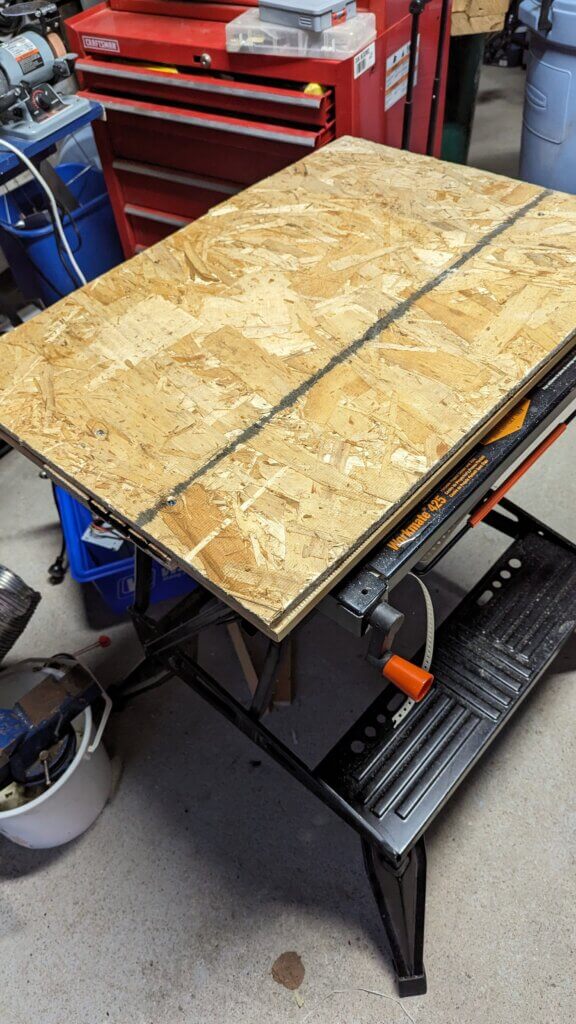
Oh well. At least I have a nice workbench for more practice.

YLab
123 Hillsview Dr, Richmond Hill, ON L4C 1T3