We occasionally work alongside the Heritage group. On May 19 2019, the DDO was included for the first time as a Doors Open Ontario site. and it was a huge success. Ylab provided tours of the basement workshops In prior years, a successful Doors Open Richmond Hill site might get 500-600 visitors. The Heritage Team told us over 1500 people went through – and they had to close off access at the end of the day to stop more from coming in.
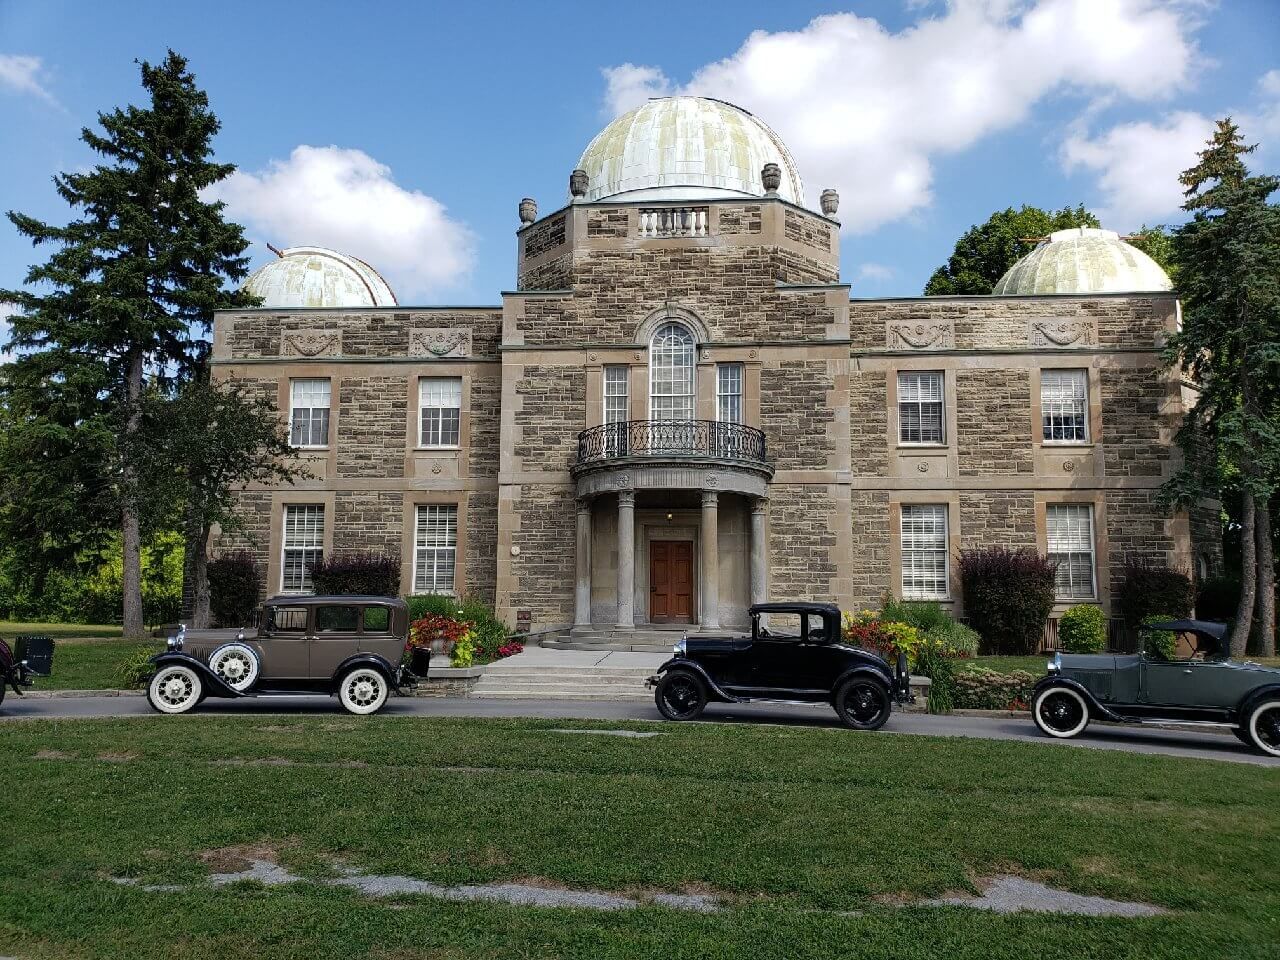
And apparently history attracts history. On Sunday August 18, the Heritage Team hosted the Ontario Ford Model A Owners Club at the DDO, and ylab again participated in the tours. Beautiful summer day. The DDO. Old cars. History is so cool.
We’ve been quiet on the blog over the spring… and even quieter over the summer as we got distracted by vacation, herding kids around, long lazy evenings and other seasonal distractions.
We have a lot of news to catch up on, and we’ll start with the most important thing: our wonderful home at the City of Richmond Hill’s David Dunlap Observatory.
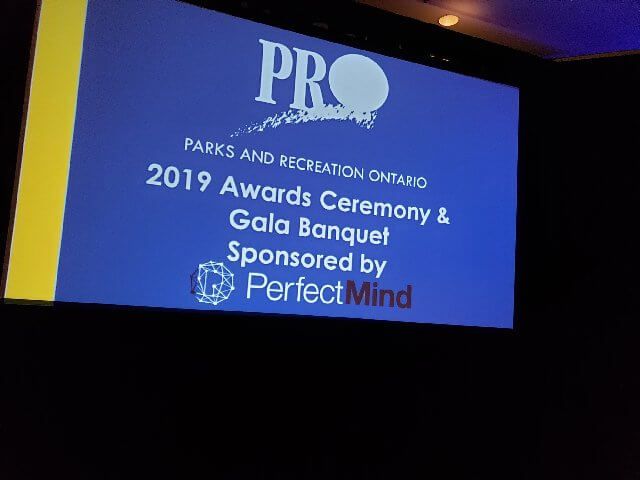
Richmond Hill Park and DDO PRO Awards of Excellence
Snakes and Ladders Park received the award for Parks or Facility Design, and the David Dunlap Observatory won the award for Operations Excellence.
The City (we can’t call Richmond Hill a Town anymore) and the PRO committee recognised both the efforts of the Parks and Recreation Department and the partners at the DDO – our friends at RASC Toronto Centre, the DDO Defenders, Western University and us, the ylab basement dwellers. And they invited us to the awards ceremony in Collingwood!
Our congratulations and thanks to the City and to all the other partners. It’s a privilege to be at the DDO – and we’re all just getting started!
A ylab member has a requirement for a backup firewall… and more. At her company, they use a top-quality commercial firewall that provides and front-ends a suite of other services like,VPN access into the company and a captive portal to control to several outbound VPNs to customer. They use multiple internet connection with services distributed across them. That makes them very dependent on this firewall’s operations – which brought up some big questions:
What do they do
if the firewall is down for maintenance or service?
What if they
are blocked from their office and need a disaster recovery
replacement?
What would it
cost to duplicate the services?
The simple answer would be to replicate everything with the same hardware. But that’s a very costly exercise, and the existing gear takes up a lot of space. Could a simpler solution work?
Here’s how she solved the problem.
Dual Raspberry Pi: Firewall and Captive Portal With Zeroshell
This got me thinking… many modern firewalls have Linux at their
core. Raspberry Pi (RPi)has Linux at its core. Current Raspberry Pi’s
have as much power as full computers from just a few years ago.
Using RPi, could I
build a compact, emergency firewall system that meets our
requirements? The list is extensive:
Manage dual Internet connections:
One for internal general internet use.
One for protected gateway use.
Protected gateway zone – multiple external VPN access:
VLAN terminations for separate gateways to each VPN
Gateways require internet access.
Captive portal controlling gateway access.
Logging access for traffic from internal network to protected gateway network, including identification of VLAN gateway being accessed.
General internet usage is not behind Captive Portal (no authentication required).
Web searches pointed me to Zeroshell . You can look at the web page – the feature list is impressive. Multiple Internet connections; VPN capability; Captive Portal for that control required to the external VPNs. Management interface looks good. And great Raspberry Pi support.
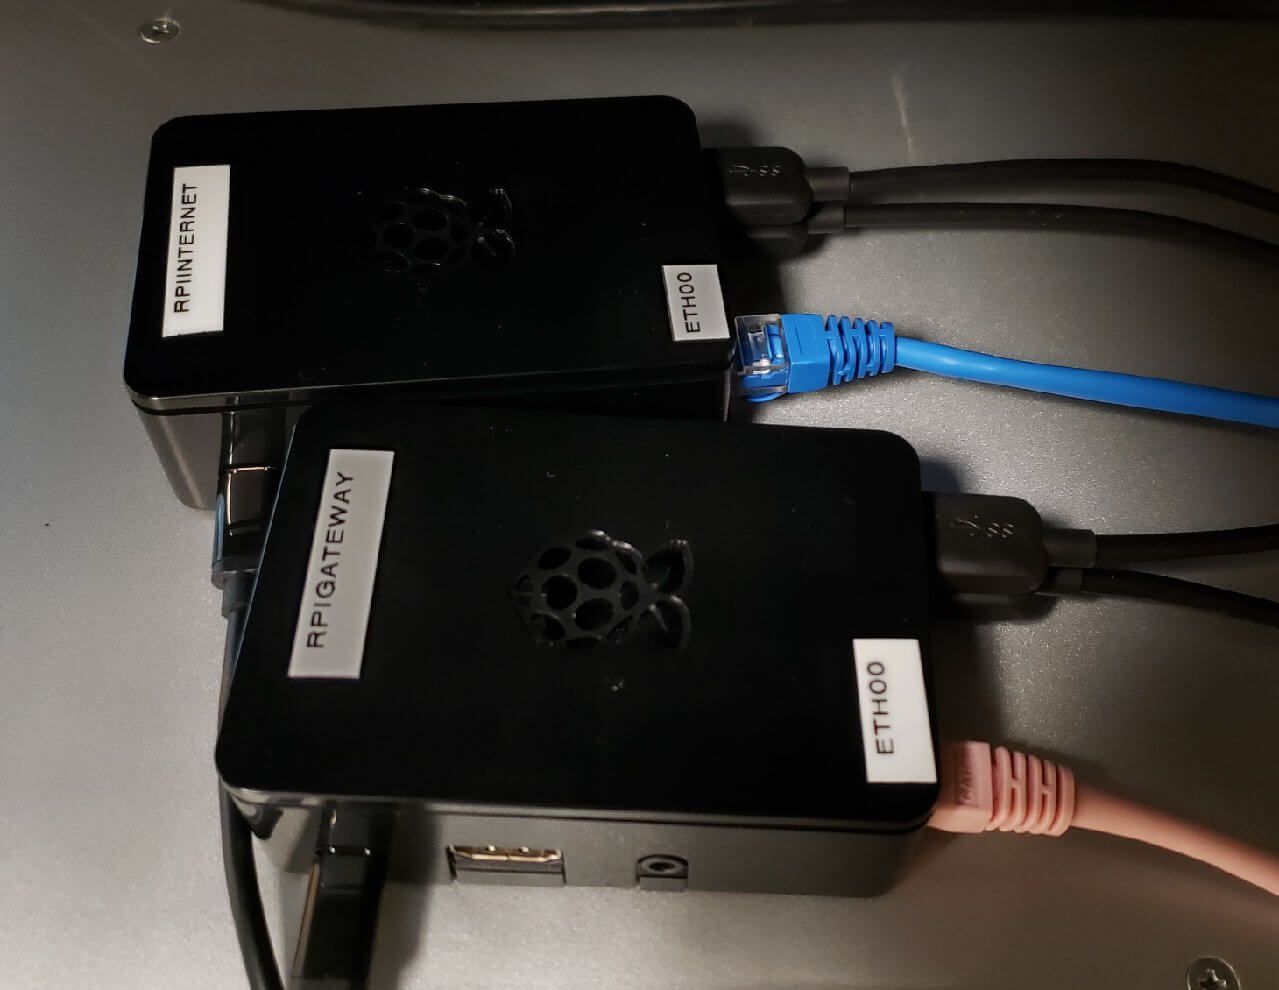
I picked up new hardware to run the test – a Raspberry Pi 3B+ with two additional USB Ethernet adapters. With SD card, power supply, case and other bits, it cost me less than $150 (Canadian). Raspberry Pi 4 was announced the week before, but still not locally available.
Loading Zeroshell was simple. The provider of the Raspberry Pi kit recommended Balena Etcher software for loading system IMG files. It worked without problem for the Zeroshell image.
The Zeroshell
management interface proved comprehensive and easy to use. I have
more detail on the configuration sequence at the end of this post.
One big glitch: the
Captive Portal configuration is all or nothing. That means a portal
login would be required both for the access to the restricted
outbound VPN gateways, and for general Internet access. That’s more
than just a nuisance. It could be a problem for some of our
automated systems.
I could spend a
bunch of time trying to work around this… or just spend another
$150 for a second RPi with all the bits to run the Zeroshell Captive
Portal separately behind the firewall.
Would performance be
adequate? Our Internet connections for this project are a couple of
DSL lines. We ran throughput tests and found the Rpis with Zeroshell
could sustain better than 88 Mbits/sec through firewall.
It worked. It passed
all our tests. And it’s so compact, we could fit it in a briefcase
with plenty of room to spare.
We’re looking at
Phase 2 – what critical infrastructure and storage could we add to
a briefcase for a completely portable disaster recovery solution?
Stay tuned!
Detailed configuration and setup
Basic Zeroshell configuration for the following network topology:
For each
Raspberry Pi:
Flash Zeroshell onto SD card using Canakit balena Etcher software.
Boot and create a new Profile. This will also allow you to specify the Management interface (ETH00)
Configure IP addresses on Zeroshell as indicated in the network topology above.
For performance reasons, the Zeroshell RPi image is “headless” – i.e. no web browser. When you load it, all you are working with limited text-based interface. The management interface is provided through an Apache web server included in the Zeroshell installation. You access the graphical management interface from a web browser on another system.
After the network configuration and topology are set on the Zeroshell text interface, hook up a PC to the network for GUI access. You need to pre-configure the PC with an IP address on the same subnet as the Zeroshell management interface.
IP addresses changed in this post to protect whatever needs to be protected. Use your own.
First configure the RPI internet connection: 1. Configure the PC with the selected IP (192.168.0.100/24) and set its default Gateway to the address of the Rpi (192.168.0.1/24). 2. Connect to the web interface of RPI-internet: https://192.168.0.1 3. Accept the certificate errors and add an exception to the browser. NOTE: Fixing this certificate issue is outside the scope of this blogpost.
Management GUI of RPI-internet: Static Route Configuration
Add static routing rule for protected VLAN access:
Go to the Network > Router page.
Click on Add to add a Static route.
In the Static Route pop-up, add route for Destination network 192.168.7.0/30 using Gateway 192.168.2.2
2. Configure NAT for internet access: 2a. Go to Network > Router. 2b. Click on NAT on main blue menu at top. 2c. In Network Address Translation pop-up, add ETH01 to the NAT Enabled Interfaces list. 2d. Save NAT rules.
3. Configure Firewall WAN, LAN, and protected gateway access: 3a. Go to Security > Firewall. 3b. Ensure you’re on the FORWARD page. 3c. Change default policy from ACCEPT to DROP. 3d. Add Firewall rules as shown below.
3e. Save firewall rules. 4. Test the Internet connection: 4a. Go to the Network > Router page. 4b. In the top corner, select Check IP. 4c. In the pop-up dialog, enter IP to check: 8.8.8.8 (Google’s DNS). 4d. Click Check and verify RPI-internet is able to connect.
5. Check Internet access from the PC.
To test the Captive Portal to the protected customer VPN network, I set up a Linux server running a web server… and more. I configured the server with KVM virtualisation and multiple VLANs managed by KVM. A web server VM was created with an attached interface associated with VLAN7. The KVM server will terminate the VLAN (set-up for KVM outside scope of this blog post). Assign the web server IP: 192.168.7.2/30.
From the Management GUI of the RPI: 1. Configure static route for internal network access (192.168.0.0/24).
2. Configure NAT.
3. Configure firewall rules using the same process as above, but with the following rules.
NOTE: There is
logging here for access from ETH00 to each VLAN interface.
4.
Configure Captive Portal:
4a. Go to Users >
Captive Portal.
4b. Select an interface: ETH00.
4c. Click on Save.
4d. Check Active on:
ETH00.
4e. Under Gateway Parameters, select
Client Identify = Only IP Address.
4f. Under Authenticator Validity, select 60 from drop down. 4g. Click Save again.
5. Configure Users: 5a. Go to Users > Users. 5b. Click on Add in main blue menu at top. 5c. Fill in details such as username and password. First and Last name required. 5d. Click on Submit. 6. Test VLAN access by pinging the web server at 192.168.7.2. It follows the same process as above for testing the Internet connection except the IP is the web server IP.
On the LAN PC, browse to http://192.168.7.2: 1. Verify Captive Portal page shows up. 2. Enter user credentials. 3. Verify the web server page appears.
On the 192.168.7.2 web server, verify connectivity to the Internet by pinging 8.8.8.8.
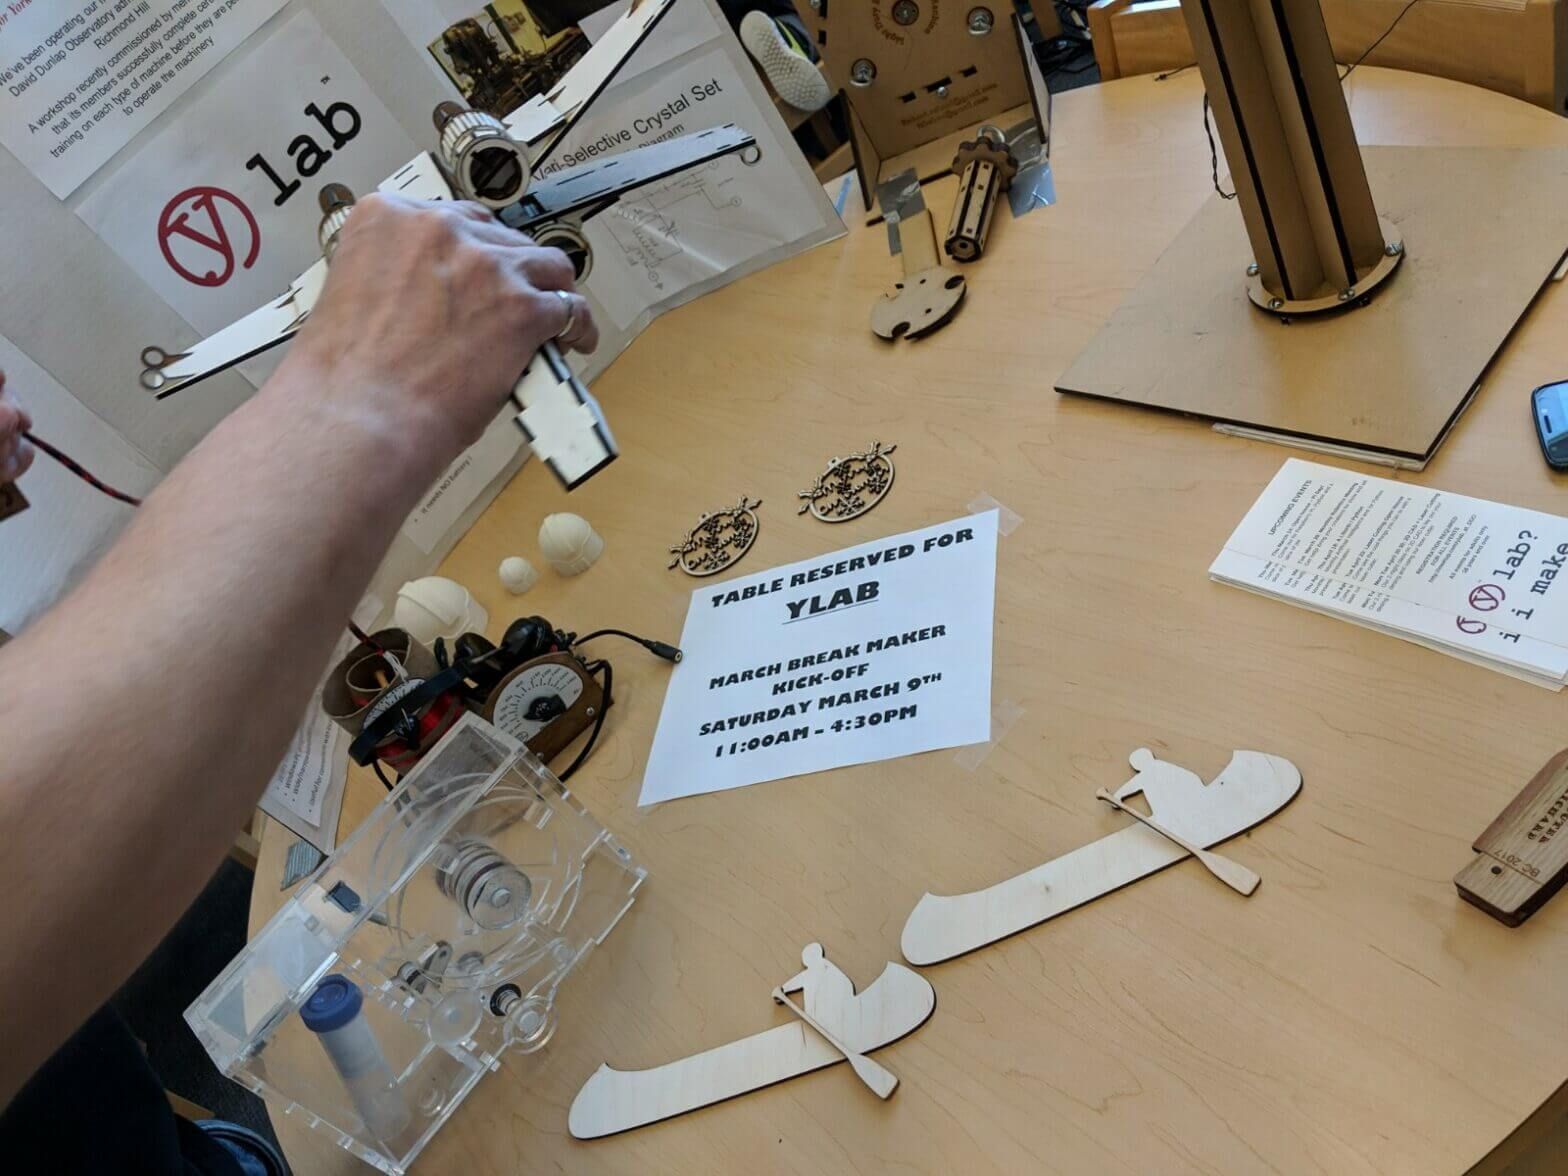
Richmond Hill’s Richmond Green Library held their third annual March Break Maker Week Kick-Off on Saturday March 9 2019 – and ylab was there.
It’s ylab… so of course we had light sabres!
Mandatory equipment: 3D printed DDO dome an light sabres.
A big hit with the kids was the hand-cranked generator, with good old analog meters and buttons to press. Beats an LED display any day.
Buttons! Real dials! A crank!
And no display would be complete without some robots running around.
ArduinoBot and RossBot. Which is which?
We had lots of other 3D printed and laser cut creations like the rope-making machine.
Count the cranks in this post. The generator crank, this rope-making crank, and some of the assorted ylab members.
Big thank you to Richmond Hill Public Libraries and all their staff for inviting us and putting up with us, and to ylab members Ross, Pek, Richard and Miro for taking a valuable Saturday – and all the planning and preparation time – to bring in all the stuff and make it all happen.
Many of the early ylab members were brought together by their love of robotics, and on Tuesday February 19 they’ll be sharing the love with our first Robotycs open house since our re-opening. This will be the start our our monthly Robotycs nights.
There have been a lot of advances s since the last time we had a Robotycs meetup. Technology has moved from simple range finders to full-room LIDAR scanners. Costs have dropped dramatically, with some amazing deals on Arduino-based kits that give you lots of room to learn and to innovated.
Our Robotycs evenings all start off with show-and-tell, where you can bring in your creations to demonstrate, or just to ask for help and advice.
We’ll be giving an overview of what’s in the new kits and why we like it.
The end of 2019’s first January cold snap brought out a whole lot of members and new visitors to our What’s This Laser Cutter Stuff All About? open house. Ylab’s Richard gave an extensive presentation on the materials you can use and the types of engraving you can make.
Great attendance from visitors and members
The highlight was some of his work with plastics and plexiglass, building up components in layers to make a complex manifold, and threading the plastic to hold screws and other fittings.
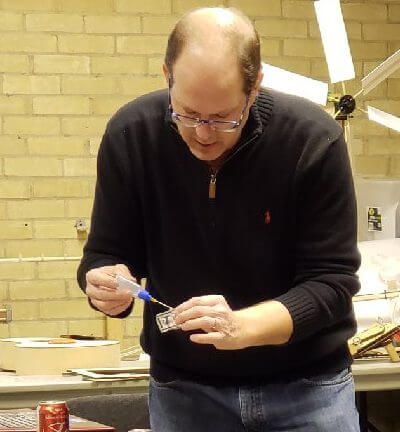
Explaining how it’s done – using a solvent to melt and bond
The meltdown happens when you bond together the plastic walls and layers to form a manifold. Instead of glue, you use the appropriate solvent for the plastic. The two surfaces melt a tiny bit and bond when pressed together. He’s tested the resulting piece to 60 PSI. He’s used the same techniques for water and air devices.
Best of all, participants in next week’s laser cutting class (sold out!) will learn to do it for themselves.
Ylab isn’t the only group haunting the DDO. We’re responsible for the strange sounds emanating from the basement – the things that go bump in the nights we are there. OK, more than bumping. Sparking, zapping, banging… On the upper floors we have the Royal Astromical Society of Canada Toronto Center (RASC), and the DDO Defenders (DDOD), delivering great astronomy programs for adults, families and kids. We often see them hosting hordes of Scouts and Girl Guides earning their astronomy badges.
Young was more than a telescope builder. He was Director of the DDO from 1935-1945, and, according to RASC’s bio, an astronomer’s astronomer. He had a big role in the design of the DDO’s flagship 74-inch telescope.
According the RASC bio, Young built his 19-inch telescope between 1926 and 1928. In the RASC Journal, Young says:
“It has been completed with the aid of a very modest workshop and occasional help for such work as could not be done on a lathe.”
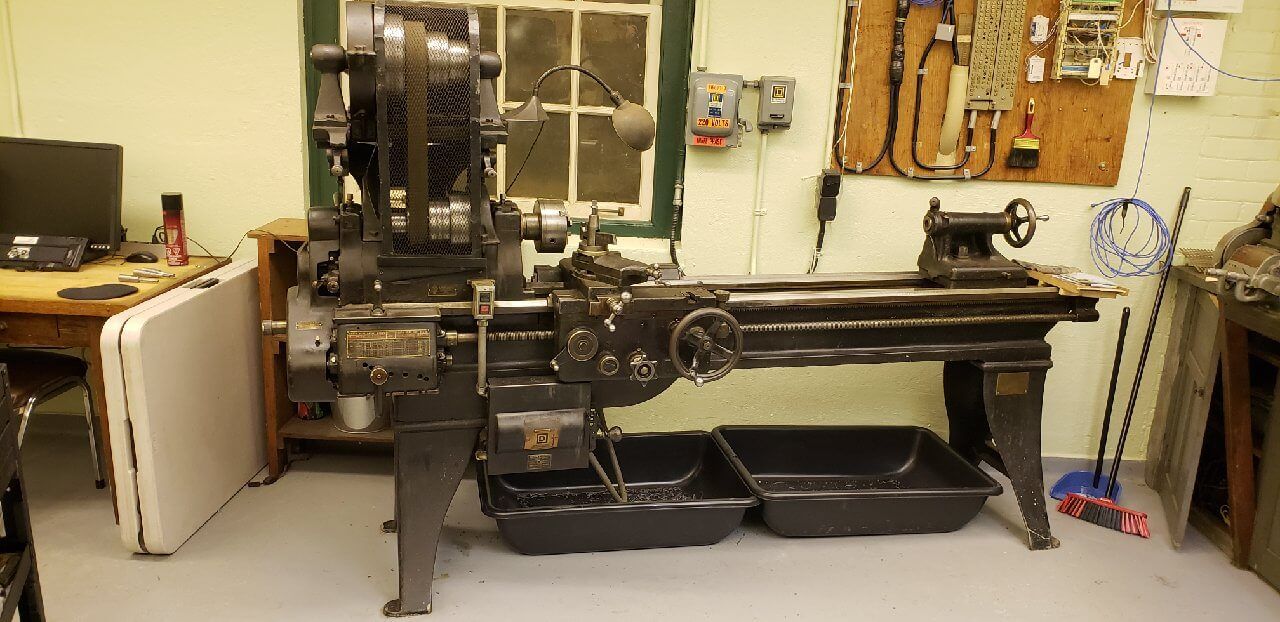
But did Young use this lathe for his 19-inch design?
Plaque on the lathe. This is generally considered to be a clue.
The Big Lathe was donated by Young to the DDO in 1934. Was it a new equipment for the DDO, or was it donated after using it to construct his telescope?
In our earlier post, we said the lathe was built in 1926. That’s according to a number on the cast into the iron base. Our lathe expert Miro said that’s probably a couple of years too early. The manufacturing process at the time involved casting the base, letting it sit around for a couple of years to ensure the metal was completely stabilised, and then completing the assembly. Better to look at the serial number, Miro says. The last two digits for a South Bend lathe indicate the production year. They read 28. As in 1928. It would then have to make it’s way from South Bend, Indiana to A.R. Williams, the Toronto machinery dealer, and to whoever purchased it.
Is that time frame too tight for completing Young’s telescope in 1928? Would a lathe have been used early or late in the process? Is the Big Lathe too big for what Young describes as a “very modest workshop”? Was Young being modest about his workshop? This Toronto Star archive photo shows the telescope in a location that is definitely not one of the DDO domes.
While ylab maker space is for adults, it doesn’t stop us from helping out with some stuff for kids. If you’ve come to one of our open houses, you’ve seen some of the things we’ve put together for Scout groups and camps. This fall we provided some assistance for a Rube Goldberg machine project.
The Scouts from 8th Richmond Hill group are a fixture at Richmond Hill and other area events – the Santa Claus Parade, camping out in the snow at the Richmond Hill Winter Carnival (coming up on Feb 2 & 3 2019), the Remembrance Day March, helping out at York Region Amateur Radio Club’s hamfest… and generally keeping your kids out of the kind of trouble you don’t want them into, and into the kind of fun trouble you get into at Scout camps and events.
The result – with all components built by the youth – is a monumentally complex system to pop a balloon. They used Meccano, Lego, Hot Wheels and other old toys; a steam engine; Arduino electronics… and the list goes on. Check out the video of the creation here on youtube. It filled a basement. No, it wasn’t our DDO basement.
Yes, that’s a steam engine… popcorn maker… old Meccano… bits of Lego… and that’s just the first step.
Video submission for the contest was Dec 31, and they are eagerly awaiting completion of the judging some time in January.
Come out to the maker space, learn some new skills, and you can have a lot of fun spreading the knowledge by helping out with other groups. Might even be your own kid!
Jan 6 2019 update: 1926… or 1928? Learn more about the mystery here.
An important part of ylab’s activities in our home at the David Dunlap Observatory is ensuring we respect the historic nature of the facility. Sometimes this includes the great privilege and responsibility of maintaining some of the workshop equipment that we’ve been entrusted with – like the magnificent old workbench.
We’ve now taken the big South Bend metalwork lathe under our care. Markings indicate it was built in 1926. It has an 8 foot bed and 16 inch throw (largest diameter we can work with), which can be increased to 24 inches when taking advantage of a removable section of the bed.
So what on earth do we do with this beast?
Our good luck, as always (we’re in the DDO, right?), brings us a solution. Ylab member Miro, a professional engineer, has a wealth of experience with exactly this type of equipment.
Almost every piece of machine shop equipment of this vintage was put to work in the World War II production effort. Most of it was heavily worn during the process, if not completely scrapped when superseded by more modern tooling. Our lathe was used primarily – and apparently very lightly – for the maintenance of the DDO telescopes. Miro suspects it may be in better shape than any other one in the world.
We started with a thorough check-out.
First a general clean-up. We don’t know when it was last maintained… but the amount of crud we pulled out tells us it’s been a while. We made the arbitrary, executive decision that the crud is not historically significant and could be removed and disposed of. We trust nobody is upset by this. If this upsets you, let us know and we’ll send you some crud. Deadline for request: next garbage day.
If it’s supposed to move… WD 40 won’t do here. Moving parts need lubrication. We identified and bought the right grade of non-detergent oil. A careful end-to-end inspection revealed 31 separate lubrication points that include small holes, holes closed by screws, small caps, big caps, plugs and various surfaces. We found and refilled a historic oil can to do the job.
Missing and worn-out parts. We spotted some missing oil-hole cover screws. We made replacements. The carriage has metal caps that press felt pieces against the tracks to push metal bits out of the way as it slides back and forth. Two of the caps were missing – but we rummaged through the cabinets and found them. We put in new felt pieces and screws.
Old cruddy felt. New felt. The missing caps. And two different models of steel-toed safety shoes.Big wheel keeps on turning to move the carriage back and forth along the bed.
So how well does it work? The big test.
We manually moved all the parts, hand-turning everything. With fresh lubrication, Miro’s preliminary assessment was confirmed. Everything that should move was moving beautifully. Like new.
Time to turn on the power and see how this fat lady sings.
We tested with some 6-inch long, 1 inch diameter metal rods.
The lathe cuts the mustard… and the metal.
You can see the steps and the results below.
What we started and ended with.
We used precision micrometers and vernier calipers to measure the progress and final results. We tested all the major gears, parts and settings. We cut and re-cut different diameters. We made screw threads on the end. And it’s unbelievable.
Almost 100 years old, and reliably delivering 1/1000 inch precision.
There are many more parts and options to test. Watch this space for more updates.
Ylab member Lucian has been running the Artificial Intelligence North meetups for the last couple of years at Markham Public Libraries’ Angus Glen branch. He’s had an incredible variety of quality speakers and topics – machine learning, neural networks and more. Click on the link to see for yourself.
The meetups have been managed from ylab’s meetup.com account. To allow us to do even more, we’re decided to bring it all to ylab’s home at the David Dunlap Observatory.
Hosting the events in our maker space will give us more flexibility on duration of events, as the library closes at 9 PM.
To prove it, we’re kicking off A.I. North’s fall season with our Python crash course for programmers. It will run from 7 PM to 10 PM on Thursday, September 20, 2018.
Python has become a dominant language for A.I. development and we want to get everyone interested through the basics. We’re hoping to do a lot more with it and some of the major A.I. toolkits in future sessions.
This is not a beginner’s programming course. We are targeting people who already know how to program, so we’ll be going quickly in to the features of the language. It’s a lot to do in 3 hours, but we’ve done it before and everyone got through it.
A dozen programmers came out to learn the language.
It’s a hands-on course, where everyone should come with the language pre-loaded on their laptop. We’ll be covering:
Basic structure for both procedural and object oriented usage of the language
Structure and use of libraries
The major data structures
Basic database access libraries – with a Postgres server to test!
Basic web access
It’s a lot to cover in three hours – but that’s the beauty of Python. If you already have some programming skills, you can move fast.
As always at ylab, we’ll be putting up the sample code and any slides on the web after the class.
We are charging a small fee for this event, and you can register here. Because, like, we pay rent for our space. We’ll have some cookies and beverages for the break. Spots are limited. Breaking news: we just listed the event, and it’s already half sold out before we finished writing this post! Our last class also sold out.
Big thanks from both A.I. North and ylab to Markham Public Libraries. They generously hosted events to help both groups get started, and we’ve co-operated on maker days and their excellent PechaKucha series. We look forward to working with them in the future.