Getting ready for CNC at ylab

When a laser cutter won’t cut it
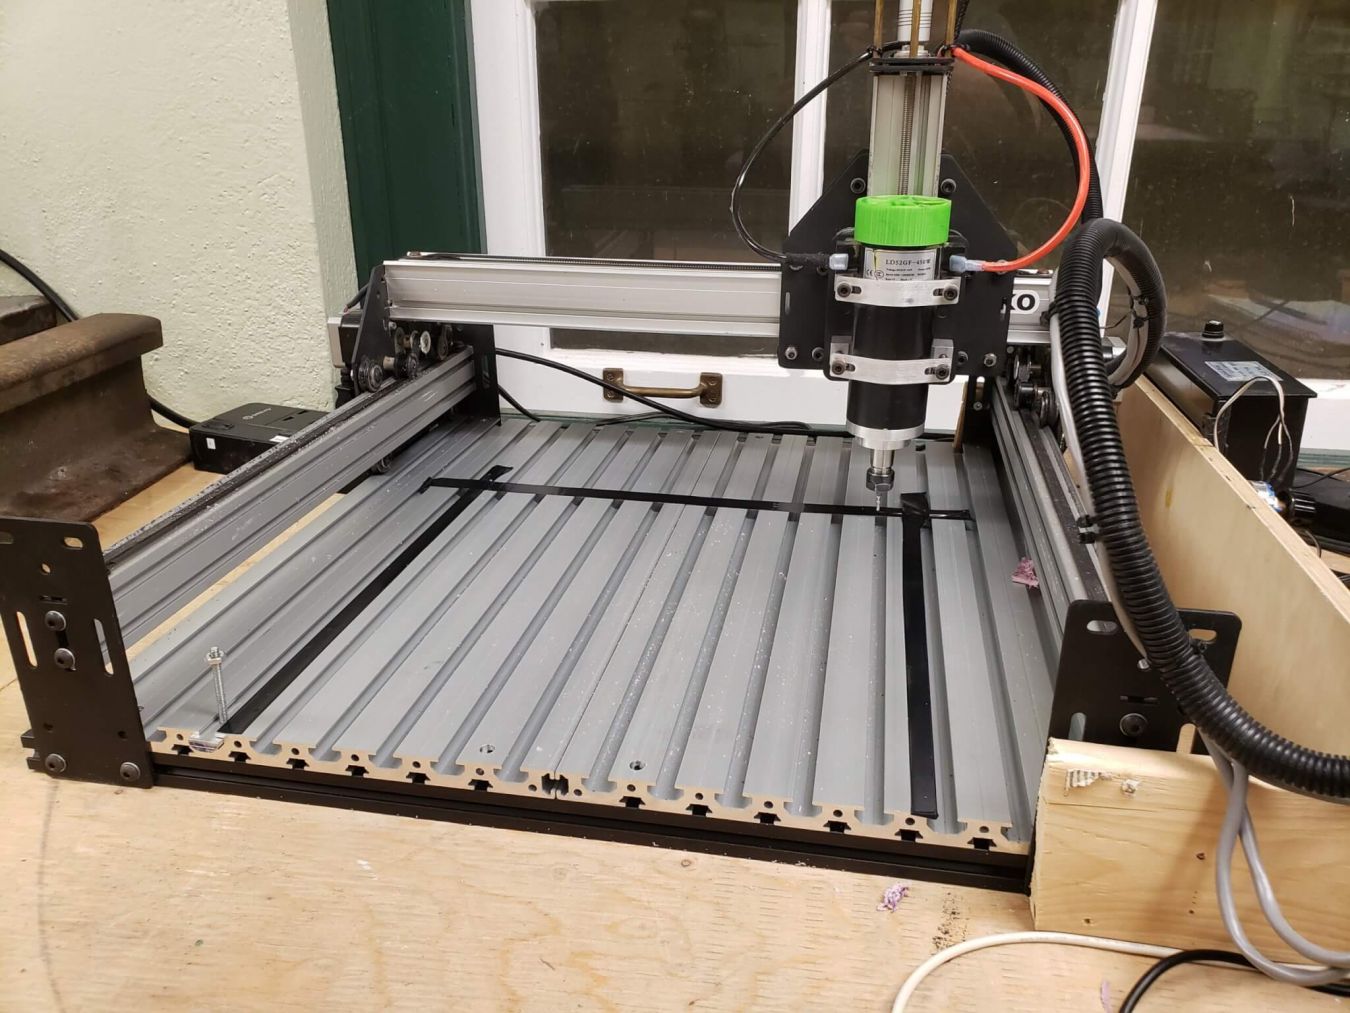
Our latest equipment donation is a Shapeoko CNC machine. Thank you Jedi Jay!
After an initial shake-town and successful testing by ylab member Craig and his accomplice Shari, they came in and gave us a quick overview of its operation.
After some test use, we came up with some improvements.
The first step was to get it out of the huge enclosure it came in. Good for sound proofing, but big and awkward to move, and not good when used by a bunch of amateurs who should be watching it all the time. Because amateurs make stupid mistakes. Removing it from the box allows us to work on it. Which we want to do. Unfortunately, the controllers were bolted to the outside of the box, and the wires ran through holes to get to the inside. So everything had to be disconnected. We added a mounting bracket to the side for the controllers and re-wired everything.
Looking at the bed in the picture below, you can see small channels at the bottom and big channels at the top.
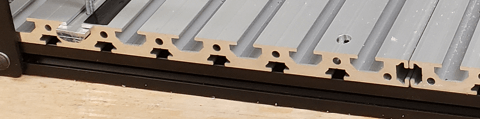
As received, the smaller channels were at the top. The picture is what is looks like after we removed, drilled, flipped and remounted the bed. . Bigger channels give us better support for the material.
Next we need something to tie material down to those bigger channels.
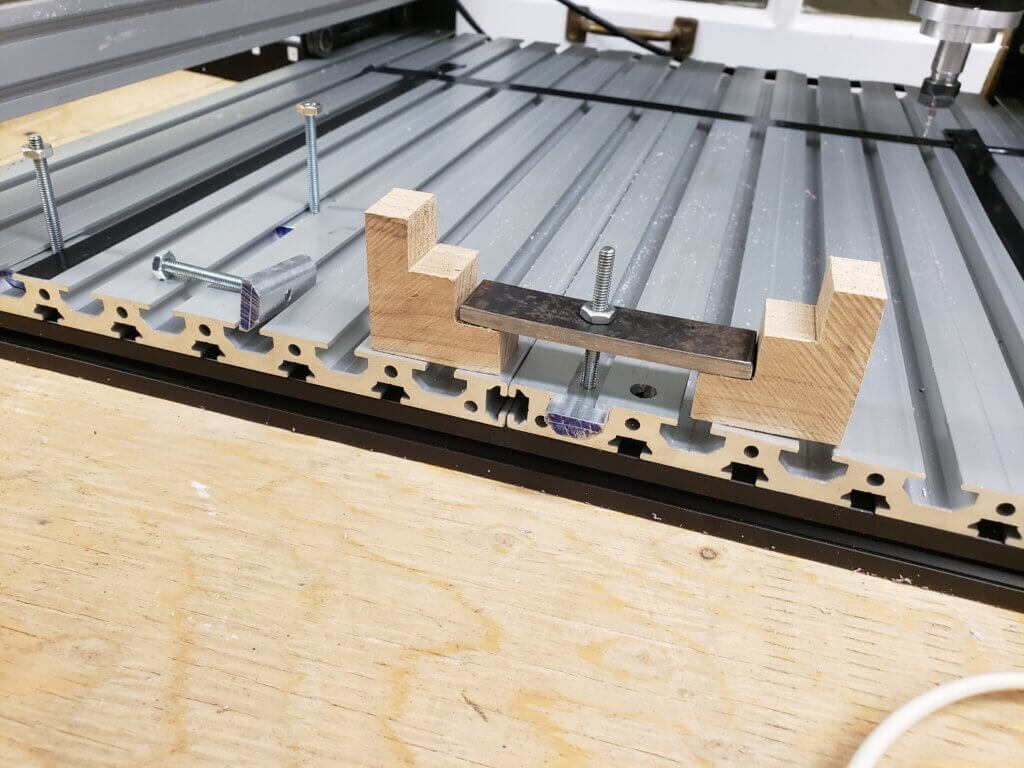
You could 3D print some brackets that will fit in the channels, but plastic won’t hold a screw very well. We want really solid. Metal Master Miro milled out a new set of blocks to perfectly fit the channels, drilled and threaded them, added threaded rods (locked down with the nasty Loctite Red stuff), and cut and drilled a set of metal bars to complete the hold-downs.
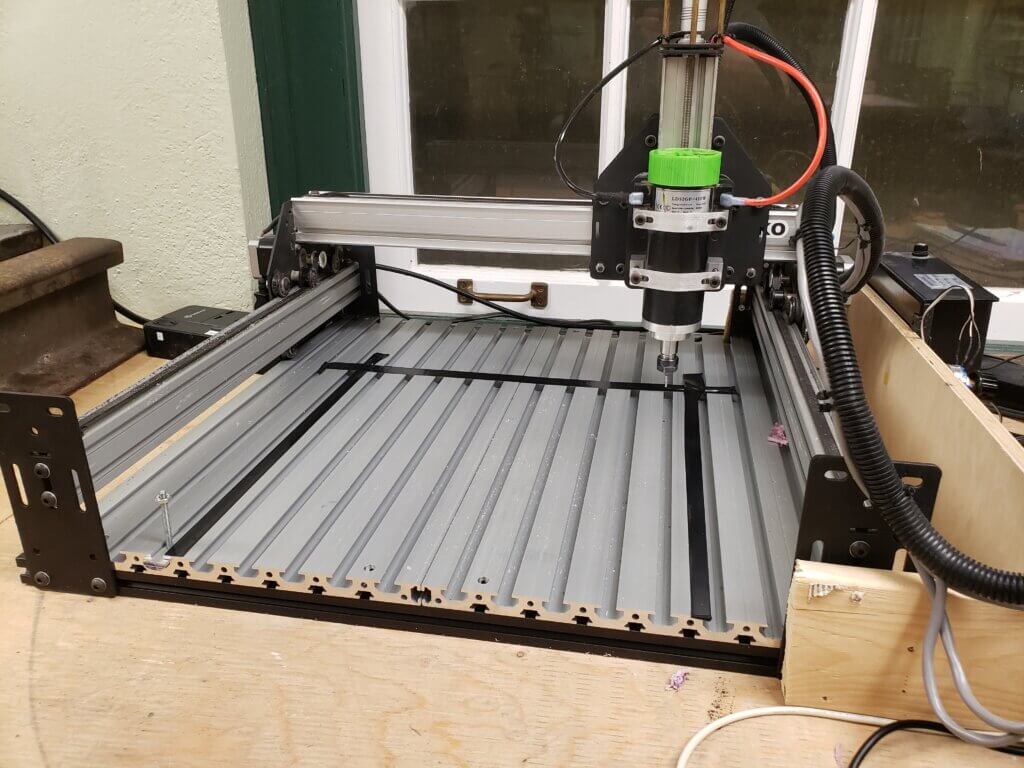
The black lines on the bed… the inside of the tape represents the limits of where the milling head can go. So you know where to place your material
We ran our first test using the Easel web site that Shari and Craig recommended. As a first test, we used some styrofoam to reduce the risk of damage.
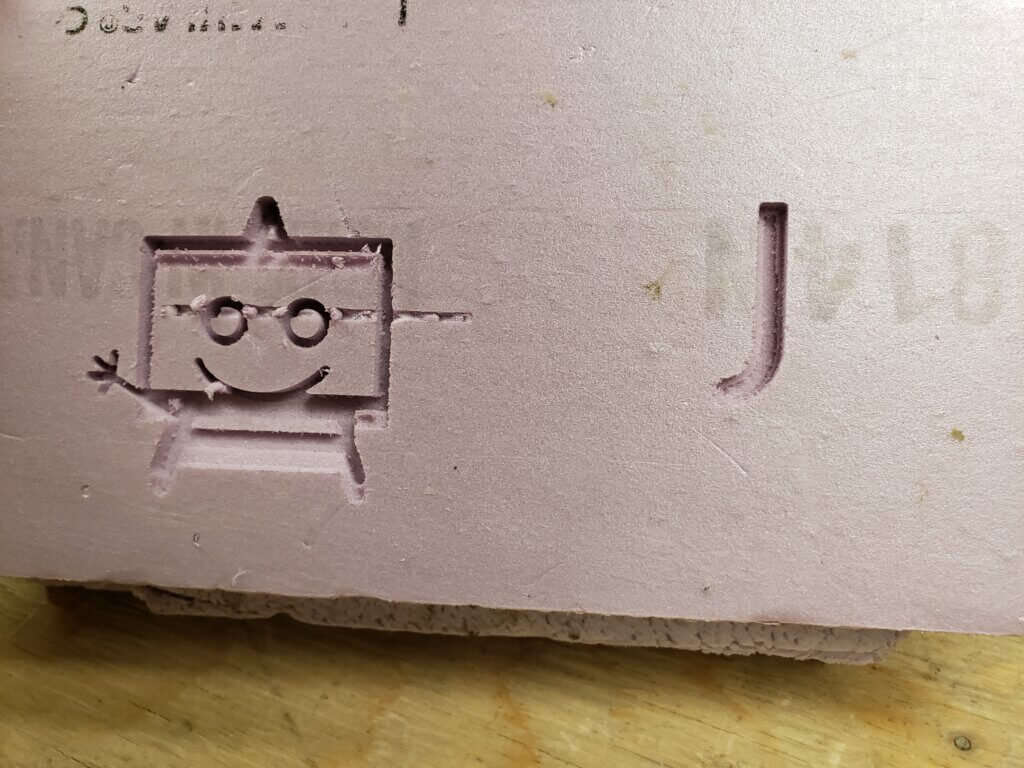
And whaddya know, it worked perfectly. That’s Easel’s test pattern.
Easel requires a live connection to the web and has some limitations on the free version, so we looked for alternatives.
We found Carbide Create – for creating drawings – and Carbide Motion for feeding Gcode to the machine and controlling it. All nice and free and from Carbide 3D, the Shapeoko manufacturer. The website has documentation, tutorials, a great sample project and other neat software – like for carving circuit board patterns. Carbide will accept .dxf files, which means we should be able to use the 2D tools our members learned in our laser cutting classes – Draftsight and nanoCAD.
That’s our project for next week – getting it running with Carbide. And with material that’s a little more challenging than styrofoam.


YLab
123 Hillsview Dr, Richmond Hill, ON L4C 1T3